Homemade bread can be intimidating- but it doesn’t have to be! Humans have been making bread for hundreds of years- you can do it too. This simple, four ingredient homemade bread recipe is as delicious as it is easy. It creates a delicious, artisanal looking rustic loaf that is great for everything from toast to sandwiches and everything in between!
There are tools and kitchen equipment that can make your life easier when making this homemade bread recipe, or really any kind of bread- but you probably have what you need on hand already! Two things we’d recommend are a cast iron Dutch oven and a kitchen scale. You’ll notice the measurements for this recipe are in grams. Weighing ingredients you have to add a lot of, like the flour, is more accurate than a volume measurement! This makes your bread come out more consistent each time you make it. The Dutch oven is how you bake the loaves in this homemade bread recipe- we’ve used both plain cast iron and enameled cast iron Dutch ovens with the same results!
Homemade Bread
Course: BreadsCuisine: AmericanDifficulty: Easy2
servings10
hours50
minutes45
minutes11
hours35
minutesMakes two loaves; serving number depends on bread slice thickness 🙂
Ingredients
1000g all-purpose flour
725g water (90-95 degrees F)
21g sea salt or kosher salt
4g instant dried yeast (about 1 tsp)
Directions
- Combine the flour with the water in a big tub or bowl. Mix by hand just until incorporated. Cover and let rest for 20 to 30 minutes.
- Sprinkle the salt and yeast evenly over the top of the dough. Mix by hand by grabbing a section of dough, pulling it up slowly, stretching without tearing, and folding it over the top to the other side of the dough. Repeat three more times with the remaining dough, until the salt and yeast are fully enclosed. I call these “pull and folds.”
- Once the salt and yeast are enclosed, make a “C” shape with your hand and pinch the dough five or six times across the surface. Then, do the pull and fold thing again. Repeat the pull & fold and the pinching until everything is well mixed. Let the dough sit for 5 minutes, then pull and fold a few times until the dough tightens into a lump. (This sounds like a lot, but should take less than 10 minutes total.) Cover your bowl and let the dough rise.
- 15 minutes into the rise, do a pull and fold of the dough. Another 30 minutes afterwards, do another. Each time, the dough should form into a ball. Then, let the dough sit and rise until it is about triple it’s original volume- this can take anywhere from 5-10 hours depending on your kitchen temperature. (This is called “bulk fermentation” in the bread world.)
- Once tripled, gently turn the dough out onto a floured work surface and cut in half. Using an unfloured area of the counter for surface tension, shape each dough portion into a tight ball.
- Place each ball seam side down in a basket to proof- a banneton works well here, but a floured tea towel in a large bowl works too! Cover loaves with a kitchen towel and let them sit or “proof”.
- Loaves should be “proofed” after about an hour and a half of rest. If you poke the loaf, it should slowly regain it’s shape. If it springs back immediately, give it some more time.
- Half an hour before baking, put your Dutch ovens on the middle rack and preheat the oven to 475 degrees. (If you only have one Dutch oven, put one of the loaves in the refrigerator when you begin to preheat the oven, then bake the refrigerated one after the first loaf.
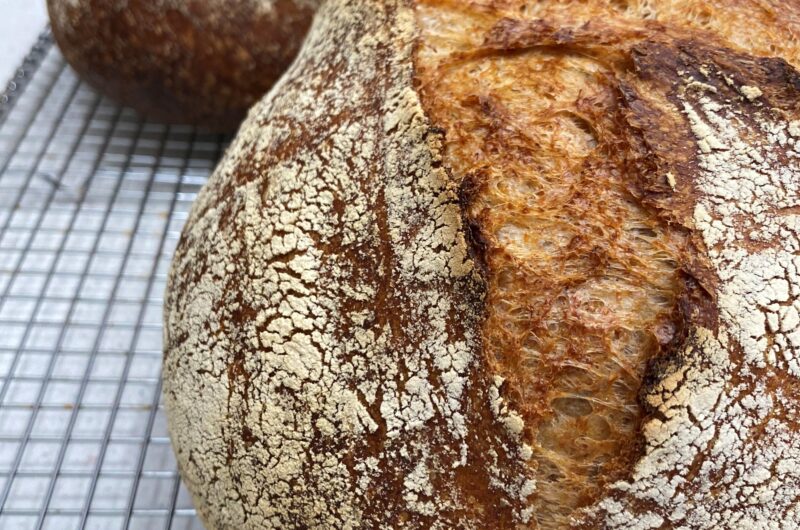
- Carefully invert the loaf into the Dutch oven, being mindful of the hot surfaces. The seam side that was down in the proofing vessel will now be facing up- this area on the loaf will split and add to the rustic artisan look! Replace the lid and bake for 30 minutes.
- After 30 minutes, take the lid off and bake for another 10-20 more minutes, until at least medium-dark brown all around the loaf.
- When you remove the bread from the oven, tip it onto a cooling rack so that it can cool on all sides. Enjoy the smell (and crackling sounds) and wait until the loaf is fully cool before slicing to avoid any interior gumminess. Enjoy as you wish- we recommend with butter!

Notes
- Wet your working hand before mixing the dough or doing any pull and folds, so the dough doesn’t stick to you. (Literally just stick your hand under the faucet and get it wet!)
- The temperature of your house is the determining factor of how quickly this recipe goes. If your house is cold, consider setting your dough in the oven with the light on to rise! Another trick is to use slightly warmer water- but don’t go over 120 F, or the yeast will die!