While canning has gained renewed attention on social media in recent years, the practice itself has been around for centuries. People have been preserving food through canning and similar methods since the 1800s. While we’ve learned a great deal about food safety over time—and modernized the tools and techniques we use today—the core process remains surprisingly similar to what previous generations practiced long ago.
Farming is much the same way. Agriculture has become more efficient, more productive, and more technologically advanced, but at its heart, the work is still the same: growing plants and raising animals. There’s a common saying: “When we know better, we do better.” That idea applies to both farming and canning. Some practices that were once considered normal are now outdated because they were unsafe, ineffective, or simply replaced with better methods.
Those improvements don’t happen overnight, and they don’t happen alone. Much of the research and innovation that shapes modern farming and safe home food preservation happens off the farm—and outside the home kitchen. Scientists, researchers, and food safety experts conduct trial after trial to evaluate nearly every aspect of what happens in the field and in food preservation. Farmers and home canners benefit from decades of research and testing, allowing them to make informed, educated decisions about the methods they use.
When it comes to canning, one of the most important rules is simple: always use tested recipes, and follow them carefully. Tested recipes ensure the acidity, or pH, of the final product is safe and prevents the growth of harmful bacteria. This recipe is a tested recipe, and similar versions can be found through trusted resources like the Sure-Jell website, the National Center for Home Food Preservation and other established canning guides.
Another important step is properly preparing your produce—say that five times fast! Bacteria doesn’t appear out of nowhere, but it is naturally present everywhere around us. Thoroughly washing fruits and vegetables before canning helps reduce the bacterial load in the finished product and contributes to safer preservation.
If you’re interested in getting started with canning, begin with trusted resources. A.J. taught herself how to can and relied on these trusted resources to start her journey. The Ball Book of Canning and the USDA Complete Guide to Home Canning are excellent places to start. While there are many wonderful creators sharing canning tips online, not all advice on social media is accurate or safe. Some influencers are incredible resources, while others may unintentionally share outdated or unsafe methods. Always fact-check what you see online—even advice from us 😉
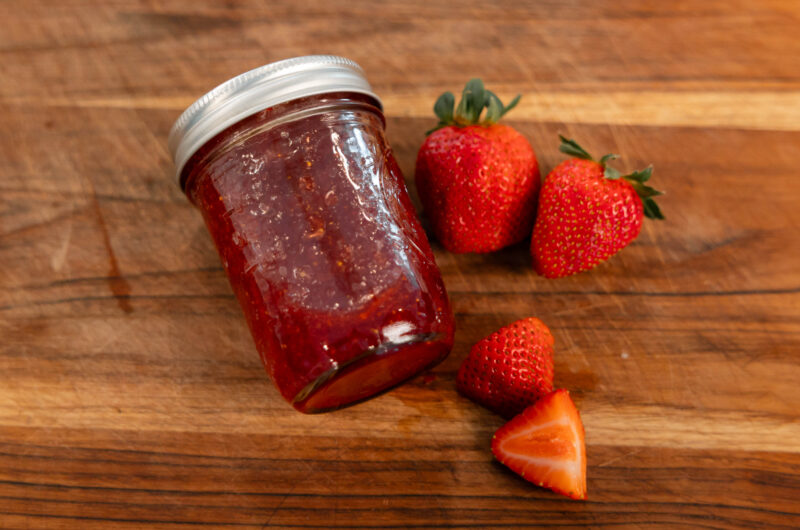
Canned Strawberry Jam
Course: CondimentCuisine: AmericanDifficulty: Medium10
minutes15
minutes25
minutesIngredients
5 cups strawberries (buy 2 quarts)
1 box Sure-Jell Original Pectin
½ tsp butter
7 cups sugar, measured into separate bowl
Directions
- Wash, hull, and crush the strawberries, one layer at a time. Measure exactly 5 cups of prepared fruit into a 6 or 8 qt saucepot.

- Prepare your jars & canner.
- Stir pectin into saucepot. Add butter. Bring mixture to a full rolling boil, stirring constantly.
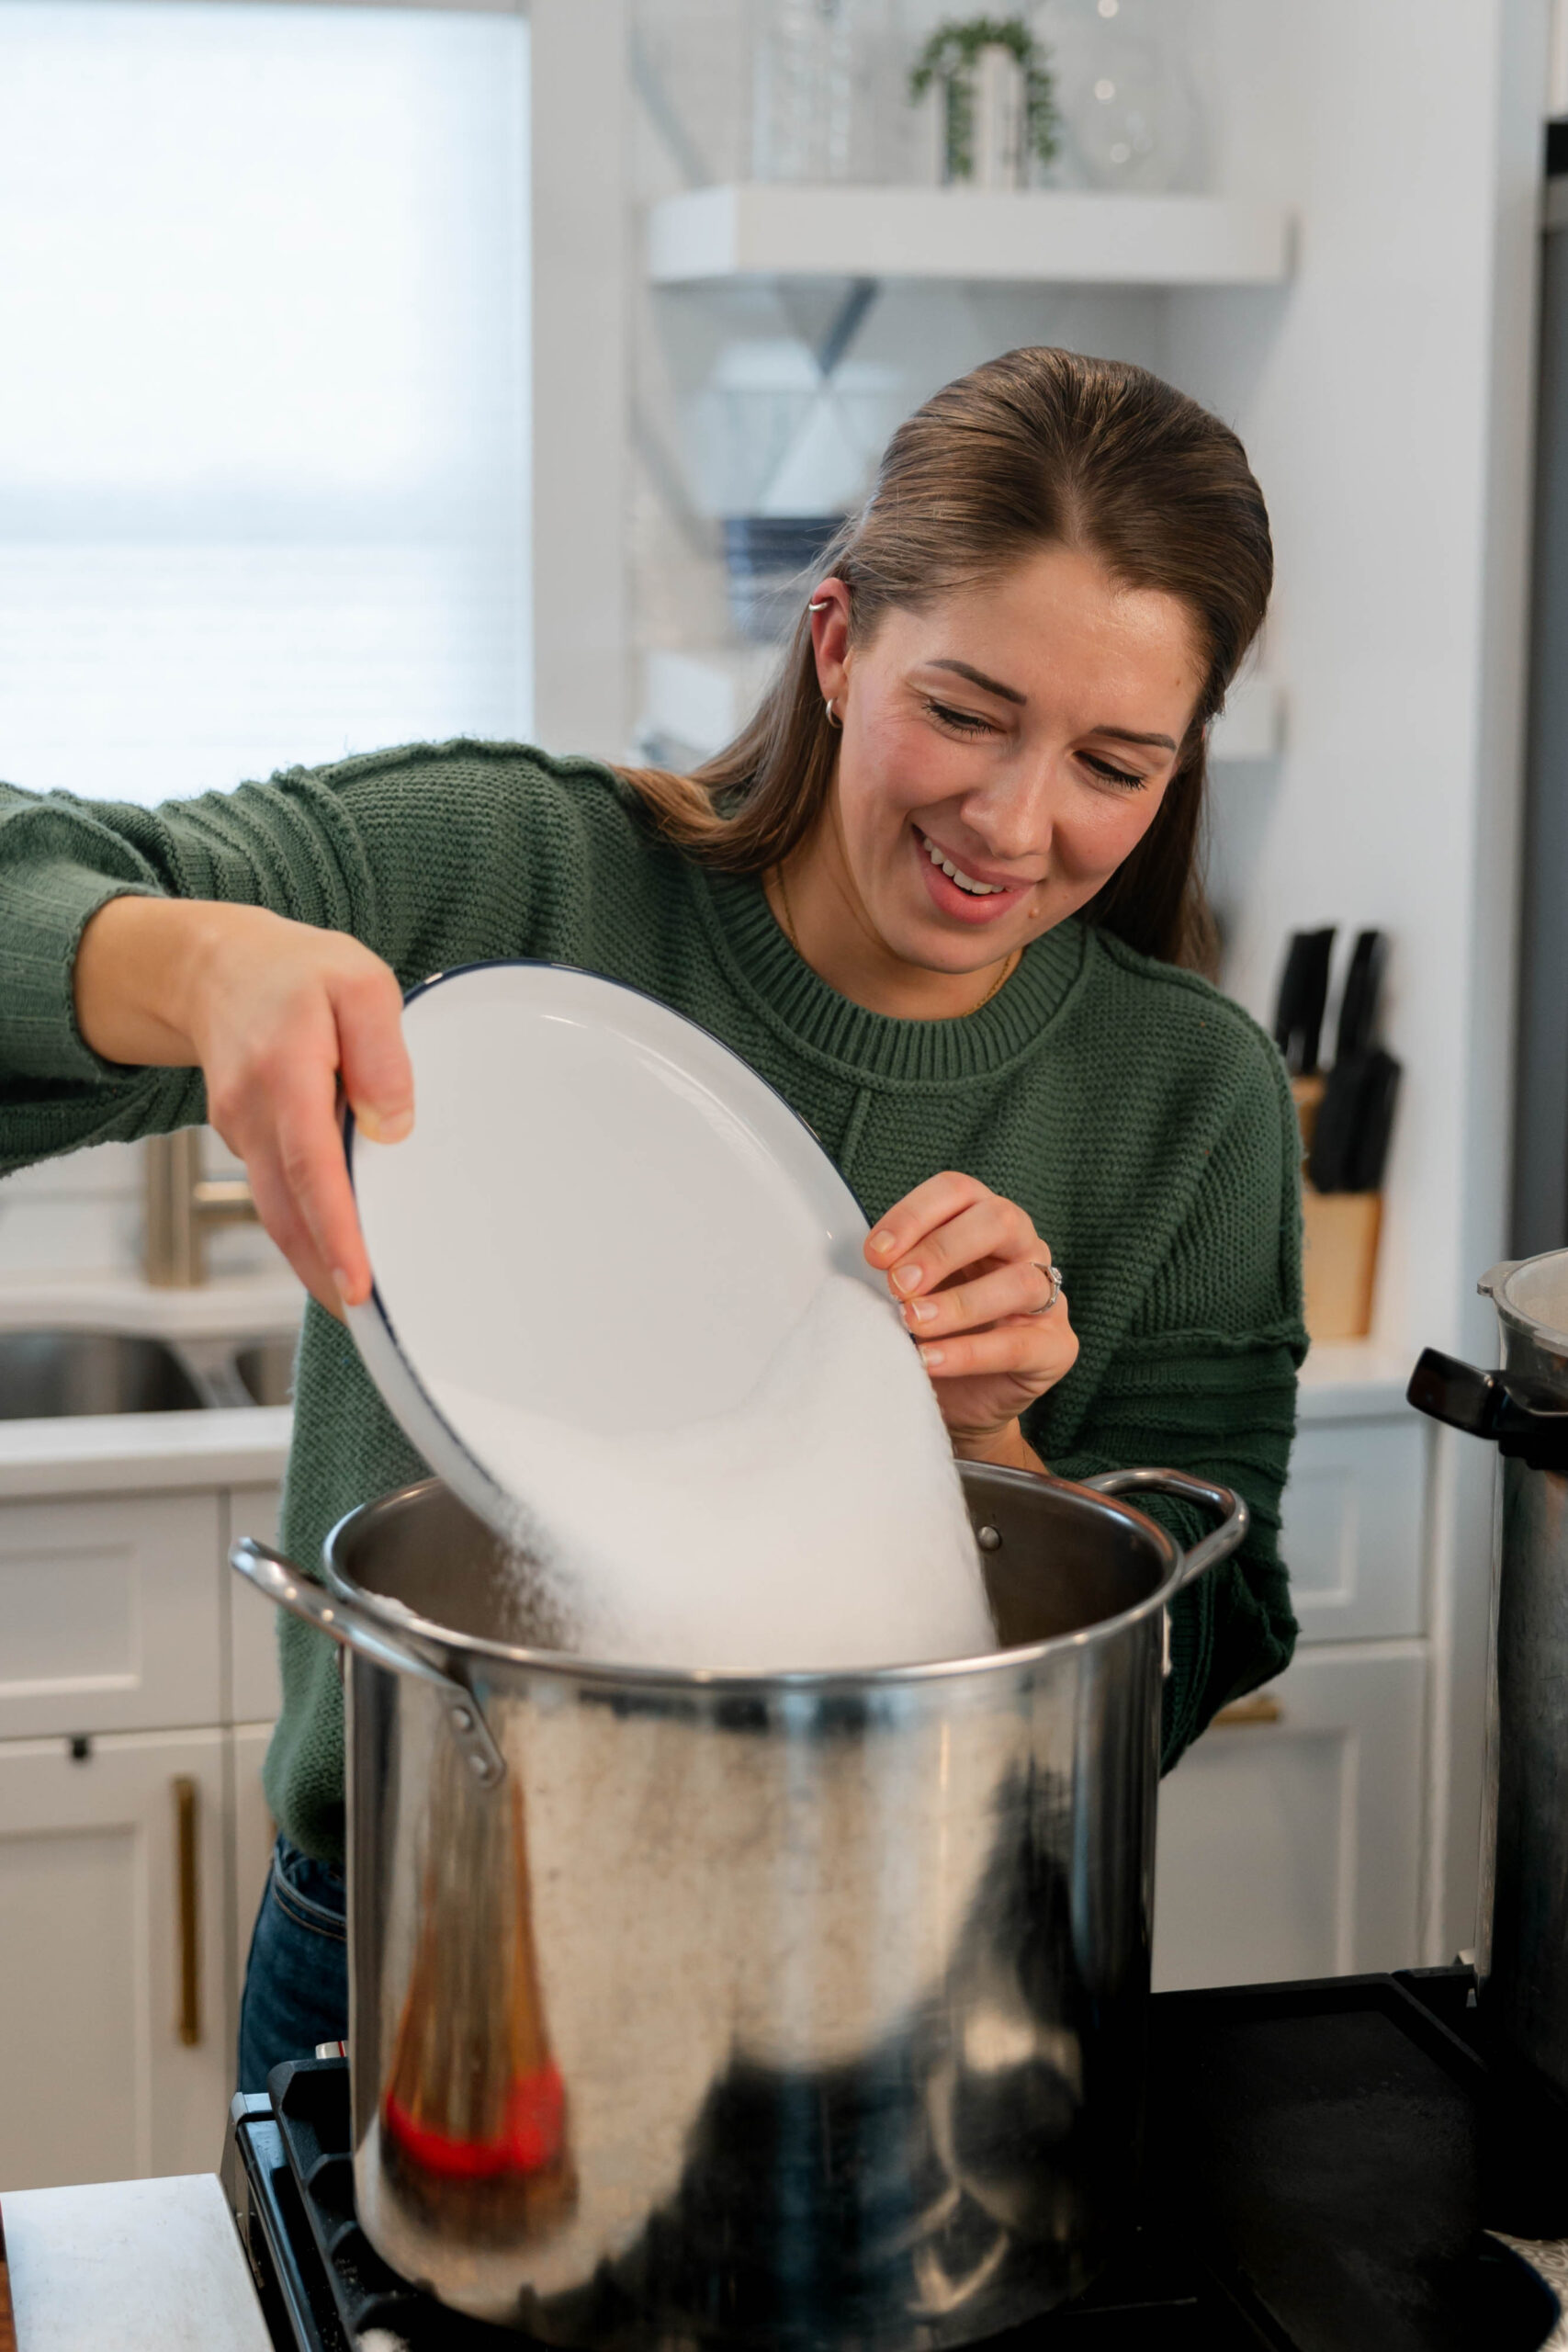
- Stir in sugar. Return to a full rolling boil and boil for exactly 1 minute, stirring constantly.
- Remove from heat. Skim off any foam with a metal spoon.
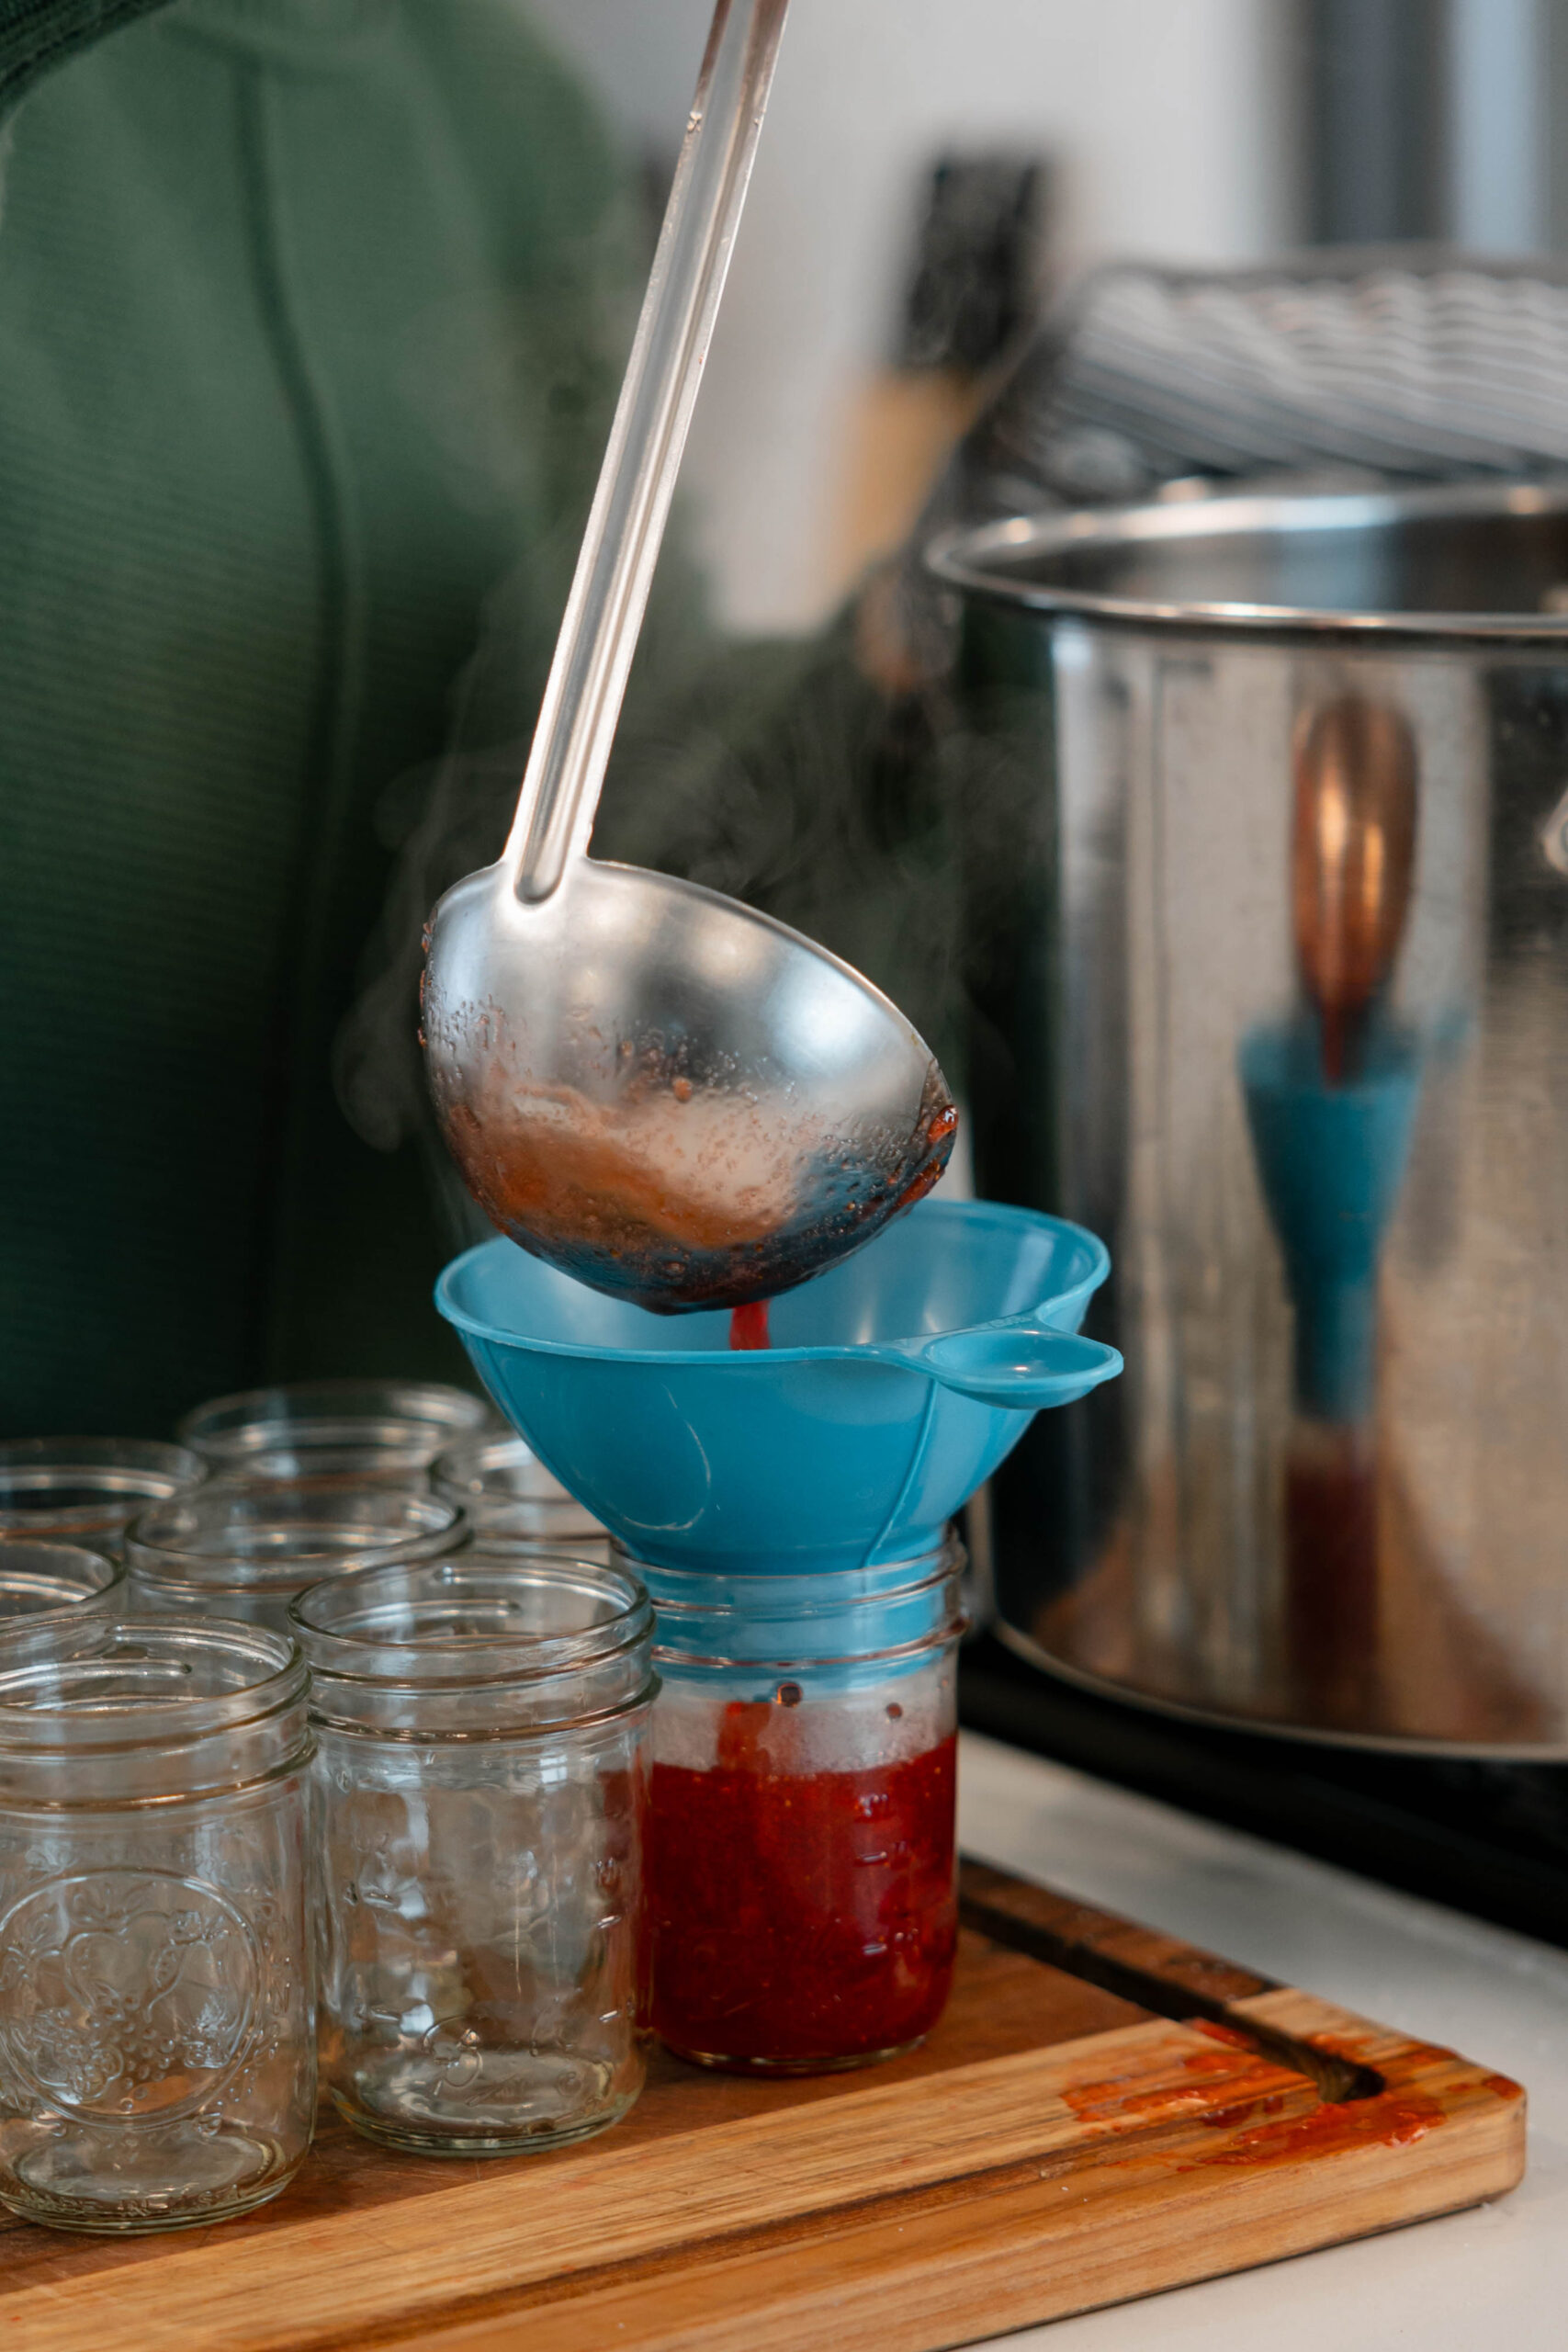
- Ladle immediately into prepared jars. Leave ¼ inch headspace. Wipe jar rims and threads. Cover with two-piece lids. Tighten bands. Place jars on elevated rack in canner.
- Ensure water level is 1-2” higher than jar level, adding boiling water if necessary.
- Cover canner and bring water to a gentle boil. Process for 10 minutes.
- Remove jars from the canner and place upright on a towel to cool completely.
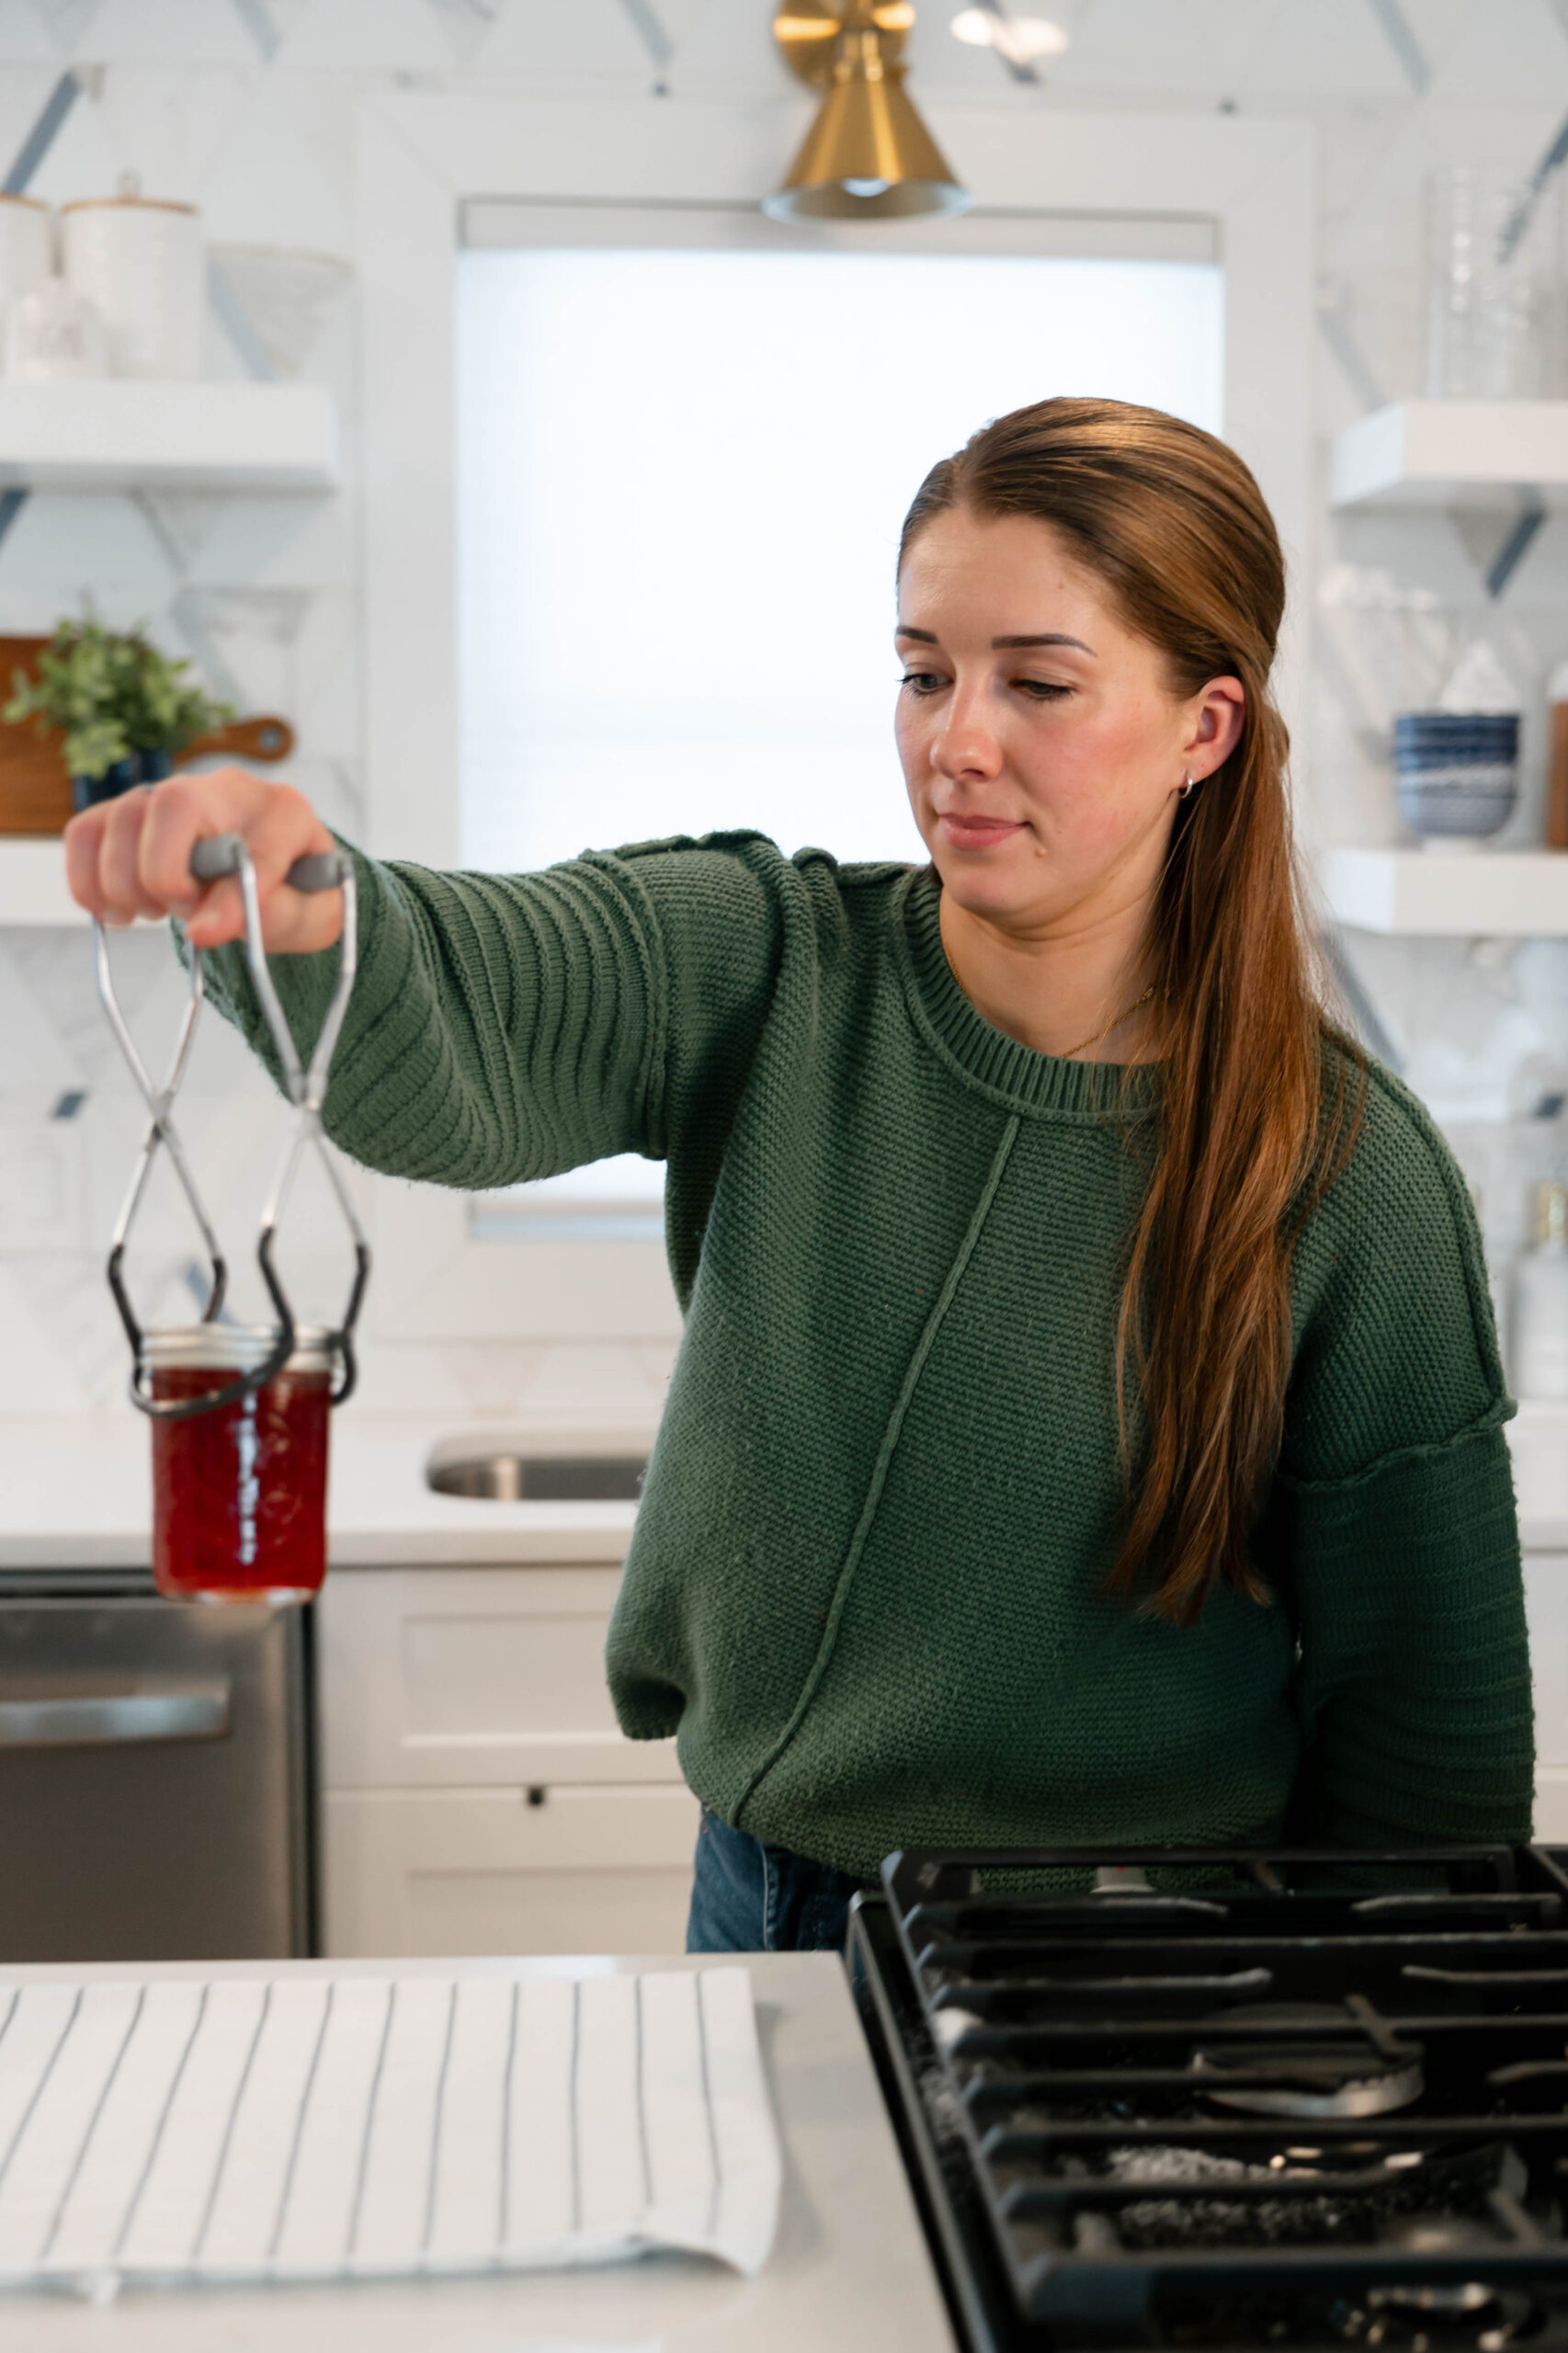
- Once cool- check the seal. If jars did not seal, refrigerate immediately.
Recipe Video
Notes
- Check out the National Center for Home Food Preservation for all kinds of canning tips!