In recognition of dairy farmers and dairy products, June marks National Dairy Month! Here are all the parts of our social media series in one place for easy reading! Enjoy!
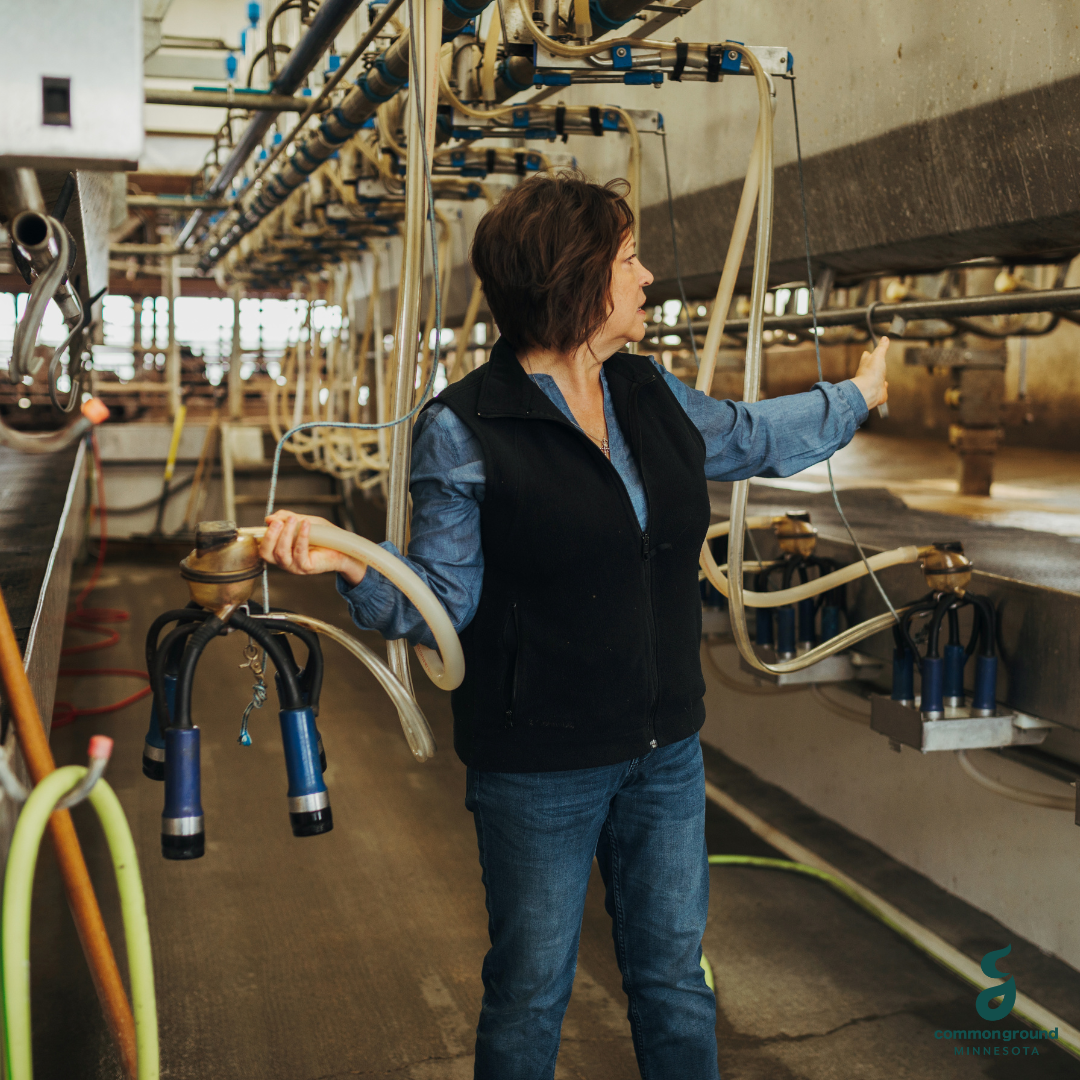
Milking Systems
🐄 Milking has changed a lot in the past 50 years!
Spoiler alert: Farmers aren’t sitting on three-legged stools with buckets anymore. Here’s a look at four major types of milking systems 👇
🔹 Stanchion Barns
This older system isn’t common anymore. Cows are secured in individual stalls (“stanchions”), and the farmer moves from cow to cow with a milking machine.
🧠 Fun fact: Cows are creatures of habit—they’ll pass open stalls just to return to “their” spot at milking time.
🔹 Parlors
The next evolution for many farms. Cows come in batches to a milking area, and multiple cows are milked at once. Farmers stand in a “pit,” so the udder is at eye level—more ergonomic for the farmer and allows for better udder inspection.
👉 Parlors can range from 4 to 60+ stalls depending on herd size and labor.
🔹 Rotary Parlors
Think of it as a slow-moving cow carousel 🎠. Cows step onto a slowly rotating platform, get milked as it spins, then step off when done.
⚙️ More efficient than batch milking and ideal for larger herds.
🔹 Robotic Milkers
These systems do it all—cleaning, attaching, milking, and even tracking cow health—with no human needed.
📈 Many farmers are using robots to overcome labor shortages and monitor everything from milk production to feed intake, body temp, and overall cow comfort.
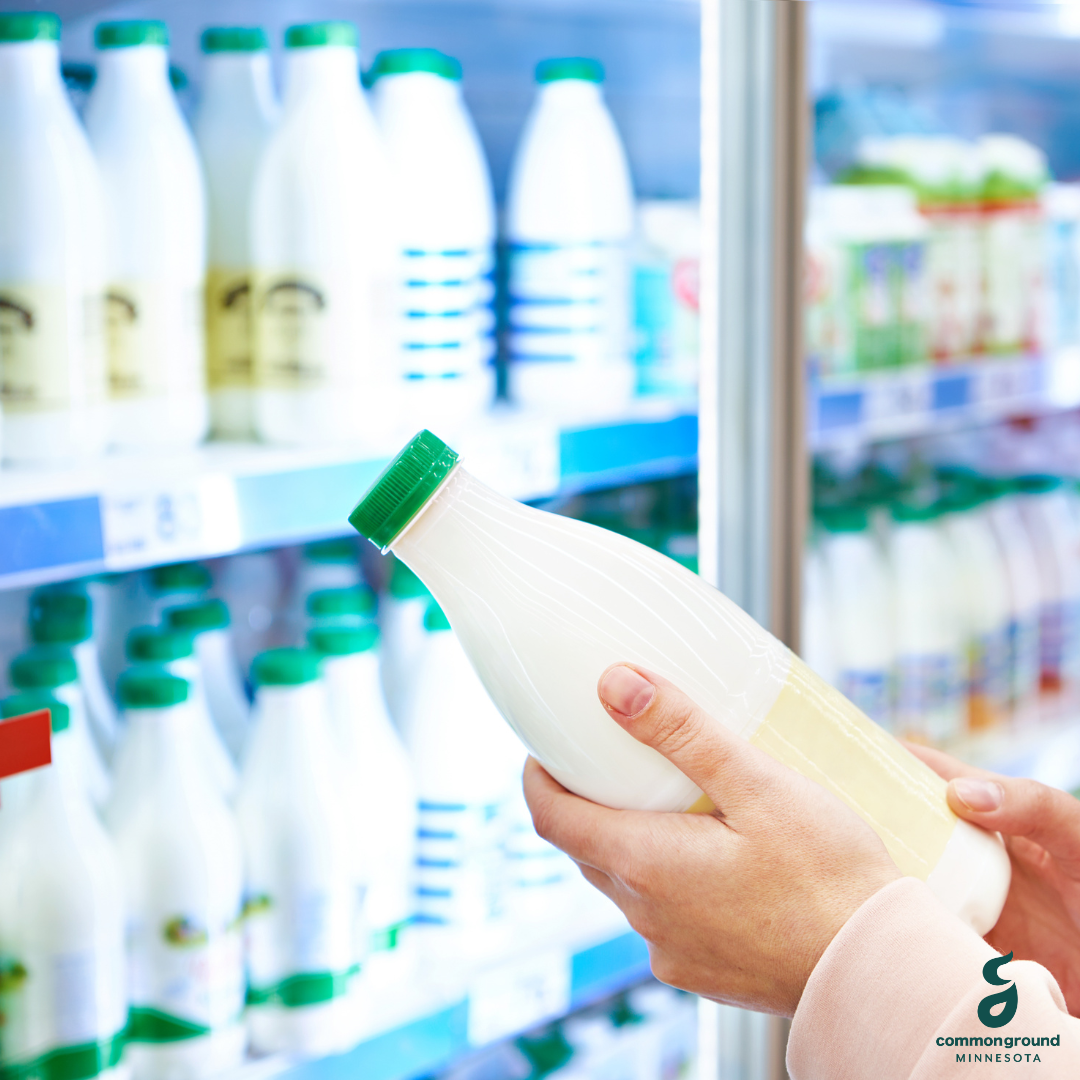
Types of Milk
🥛 Milk: So many options!
With so many options in the dairy case (and beyond), it can be tough to know what’s what. Here’s a quick guide to different types of fluid milk you might see 👇
🔹 Milk Fat Percentages
Blue cap, red cap, yellow cap, pink cap- it sounds like a Dr. Seuss book! Each of these colors corresponds to a fat percentage in milk. However, it’s important to know that the color can vary from brand to brand- so double check before grabbing! The difference in these milks is only the fat content- all other nutrients remain the same!
Learn more
🔹 A2 Milk
A newer option made from cows with a specific gene.
🐄 Cows produce two types of beta-casein proteins: A1 and A2. A2 milk comes only from cows with the A2A2 gene.
📉 Some people report it’s easier to digest than regular milk—but more research is needed to scientifically confirm these claims!
More info
🔹 Raw Milk
Milk that hasn’t been pasteurized (heated to kill bacteria). It is not legal to sell raw milk in stores or transport it to sell- buyers must pick up on the farm!
FDA’s Raw Milk Information
🔹 Lactose-Free Milk
Still dairy—but with lactose removed or broken down with lactase (the enzyme we use to digest it). Great for those with intolerance or allergy!
Details here
🔹 Milk from Other Mammals
Goat and sheep milk are the most common in the U.S., but globally people drink milk from water buffalo, yaks, camels, reindeer, and more!
🔹 Plant-Based Milk Alternatives (PBMA)
Not true “milk”—these are made by pressing nuts or seeds (like soy, almond, oat, etc.).
✅ Dairy-free = safe for allergies
⚠️ Nutrition varies a lot—check the label for protein, sugar, and calcium content.
Compare here
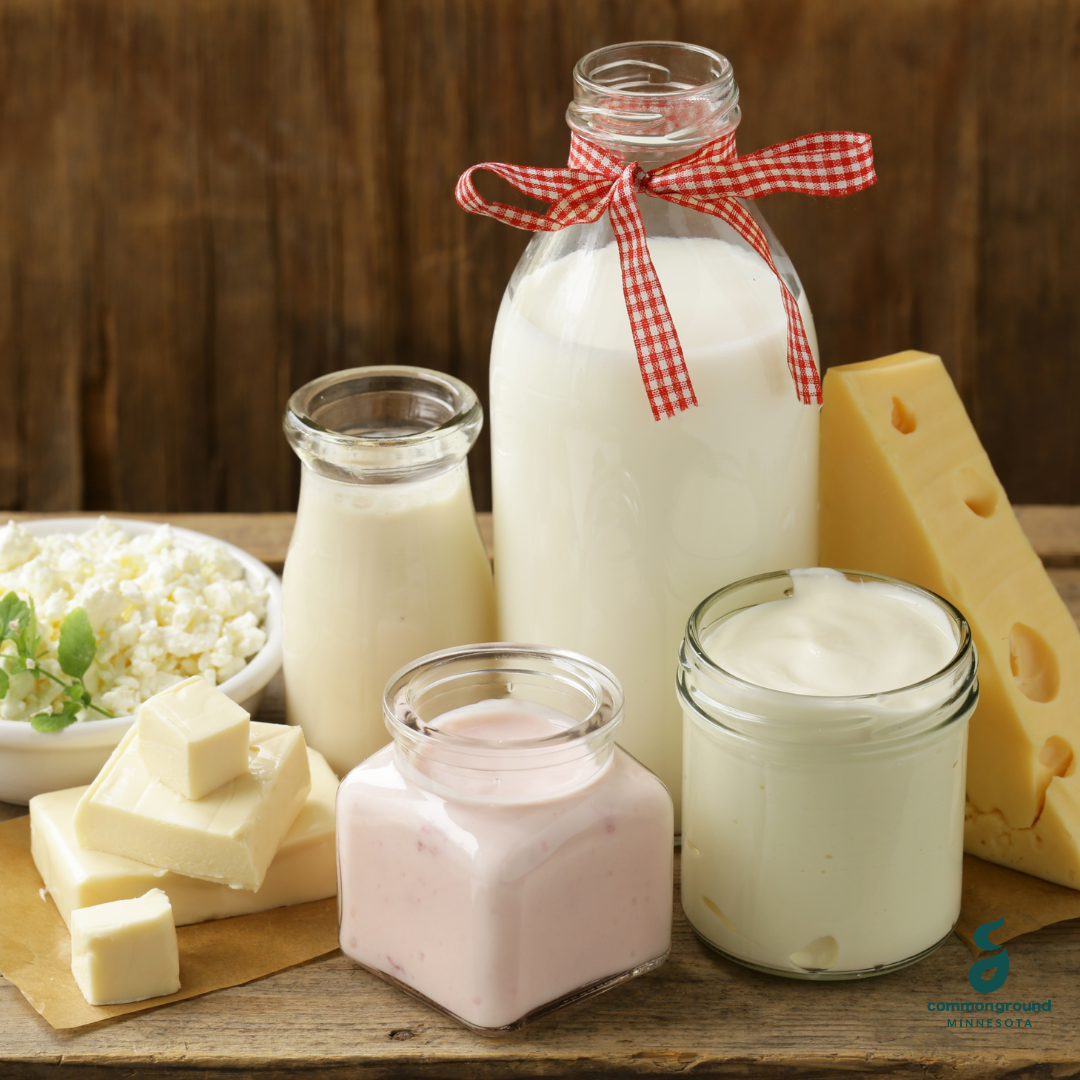
Dairy Products & Volunteer Faves
Across cuisines, there are hundreds of dairy products! Milk is so incredible and can be made into so many different products! Each of those products has tons of variations and flavors. The fun never stops! Here’s a collection of some of our volunteer’s favorite dairy products!
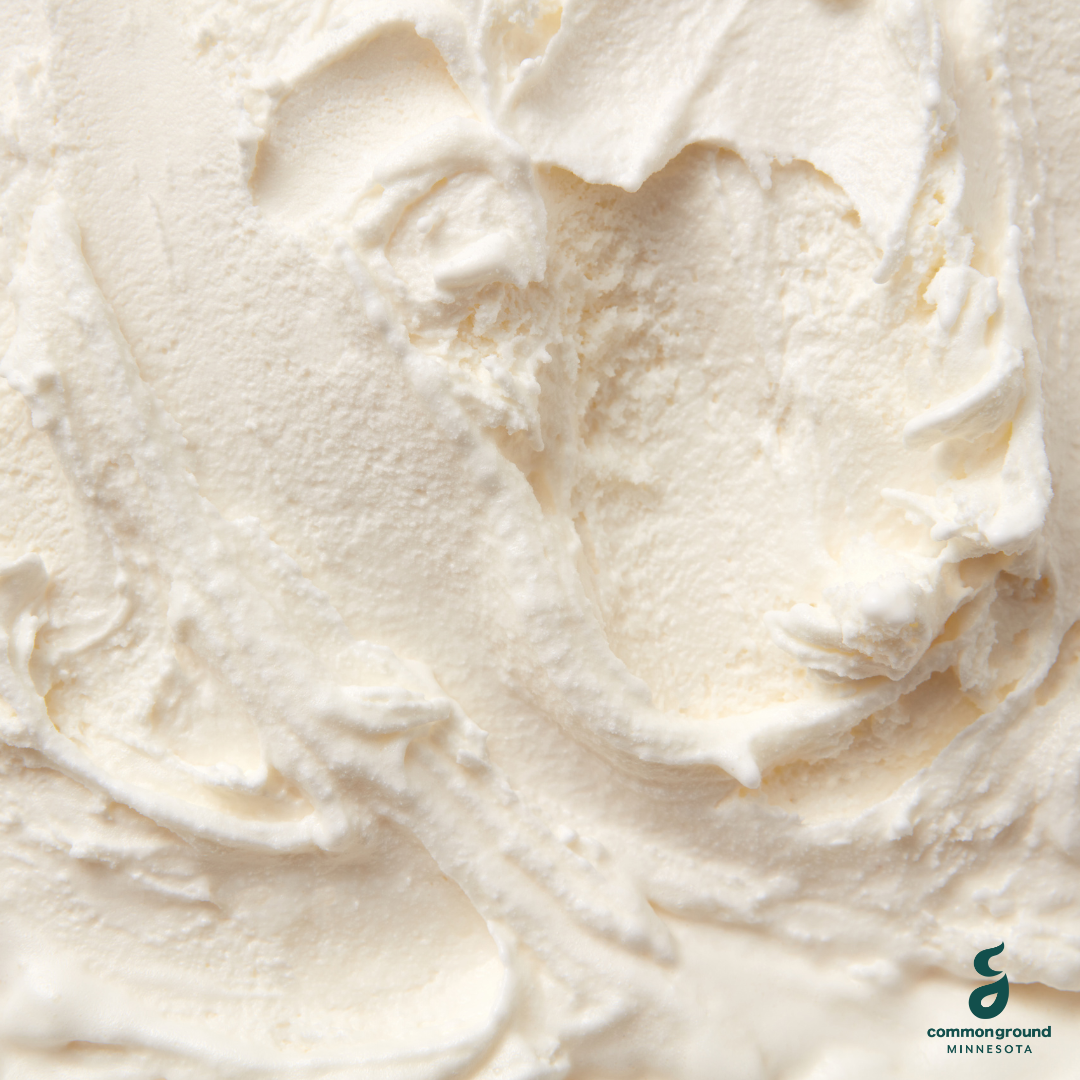
Haley from Odin says, “My favorite product is ice cream- so many flavors and can be enjoyed year-round by itself or paired with other foods as desserts!”
Alyssa from Hastings says, “My favorite dairy product is a toss up between ice cream or cottage cheese! I love Kemps Chive Cottage Cheese for a perfect, protein-packed pick-me-up snack in the middle of the afternoon (as does my son)!”
Ellyn from Hamburg says, “Plain whole milk Greek yogurt! I love it because of its high protein content and versatility. I love to substitute Greek yogurt for sour cream in recipes for added protein, but also love a good smoothie, and yogurt bowl! It’s also a trusty protein source when I need a quick breakfast for my 9-month old son. Yogurt bowls are my favorite quick-snack obsession lately (pictures in the comments) – serving of plain Greek yogurt, dash of cinnamon, drizzle of local maple syrup, topped with Purely Elizabeth granola. YUM!”
Becca from Saint Peter says, “Cheese – specifically Sartori BellaVitano Black Pepper…..yummmm!”
Joelle from Rice says, “I love all dairy products- gosh, cottage cheese, good cheese, and ice cream are my fav 3. Lets talk about ice cream. I love the variety of ice cream flavors and textures that are available. I also make homemade ice cream too. Its such a fun treat and usually is enjoyed with people you love ![]() Hand scooped ice cream, in a waffle cone- such a great day!”
Hand scooped ice cream, in a waffle cone- such a great day!”
Make Your Own
School’s out and the kids are already saying “I’m bored!” The weather is heating up—dare we say, it’s hot? It’s also June Dairy Month, and that makes it the perfect time to cool off and learn something with a hands-on activity: homemade ice cream in a bag!
This method is kid-friendly, hands- on, and educational. It’s a great opportunity to sneak in lessons on budgeting (shopping for ingredients), following directions (reading the recipe), and measuring skills (adding ingredients). Who knew eating ice cream could be so educational?
What You’ll Need:
Two ziplock bags – one large (gallon) and one smaller (quart). For younger kids or smaller servings, use a sandwich-size bag inside a quart.
Quality is super important here– ice corners can be sharp, and punctured bags will make ice cream salty and inedible!
Ice cubes
Ice cream salt or rock salt- (any salt will work- you’ll just need a LOT more table salt compared to ice cream salt.)
Ice cream ingredients:
1 cup half and half (You can also substitute milk—the higher the fat, the creamier it’ll be!)
2 tablespoons sugar
½ teaspoon vanilla extract
How to Make It:
In the smaller bag, add the half and half, sugar, and vanilla. Seal it very tightly.
In the larger bag, add a layer of ice and a few tablespoons of rock salt.
Place the sealed smaller bag inside.
Add another layer of ice and salt on top to fully surround the smaller bag.
Seal the large bag and start shaking!
🌀 Shake until the ice cream thickens—soft serve takes about 5–10 minutes. Want it firmer? Shake longer!
Tip: The bag will get very cold. Use a towel or wear gloves while shaking.
When it’s done, rinse the small bag under cold water to remove any salt before opening. Then dig in! Eat it right from the bag or scoop it into a bowl!
Fun Variations:
Swap out vanilla for mint, almond, or lemon extract
Stir in crushed cookies, mini chocolate chips, or sprinkles after it’s frozen
If you give this a try, let us know—we’d love to see your delicious creations! 📸🍨