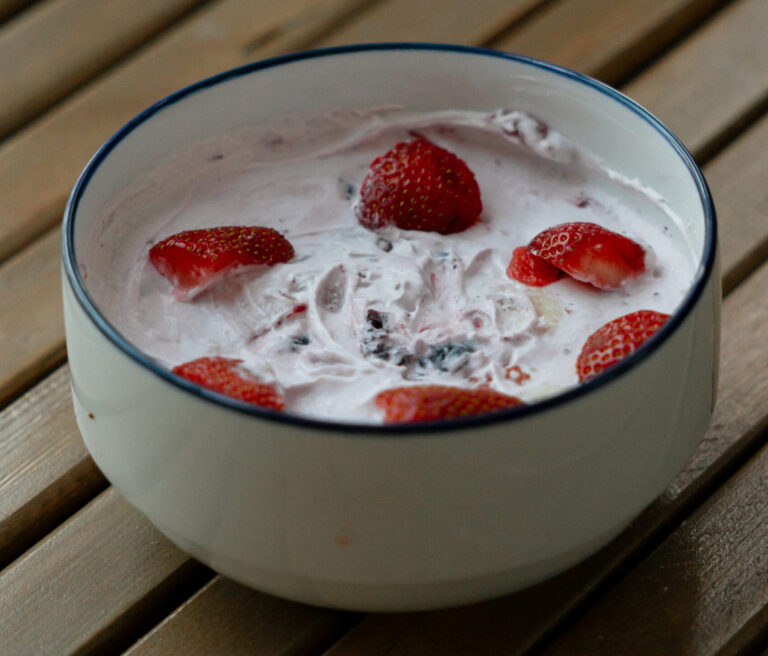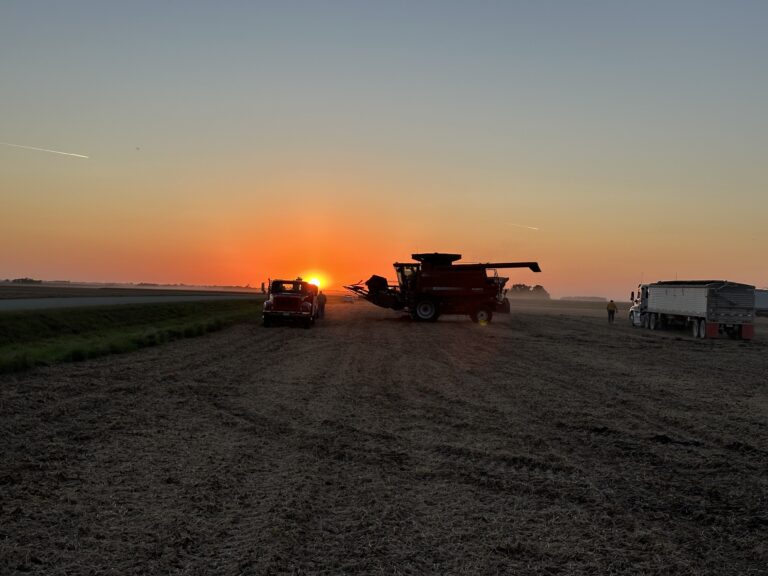
This yogurt recipe can be a little deceptive. On the surface, it seems simple—most of the work happens on its own, without much hands-on effort from the person making it. Many people assume farming works the same way: plant the seed and it sprouts, feed the animal and it grows. But in reality, there’s a lot happening behind the scenes that can make or break a farmer’s success.
In dairy farming, one fairly common but serious issue is acidosis. This occurs when the pH of a cow’s rumen—the first compartment of their stomach—drops below a healthy threshold. Even when a farmer keeps the cows’ routine, feed ration, and environment consistent, acidosis can still happen. There is always a reason, but it isn’t always obvious.
Maybe the feed wasn’t mixed thoroughly enough, and one cow ended up eating a concentrated pocket of grain. It’s possible she discovered she could streeeetch over the fence to snack on apples from a nearby tree. Perhaps a well-meaning neighbor kid has been slipping her bread crusts and sweets while waiting for the school bus. The cause could be almost anything, and often the culprit is a small, overlooked variable no one initially considered.
That’s exactly what happened with this yogurt recipe, too. Brittany tested the recipe before our content shoot to make sure everything worked smoothly before filming. During her test run, the yogurt turned out beautifully. But on the day of the shoot, she followed the exact same process, used the same tools, and even brought the same crockpot from home. Still, the yogurt came out noticeably runnier than before.
So what changed?
The truth is, we’re not completely sure. Our best guess is that the starter yogurt made the difference. During her trial run, Brittany used a full-fat Greek-style yogurt. For the shoot, the grocery pickup order substituted a regular nonfat yogurt instead. We didn’t think much of it at the time, but once the yogurt failed to set properly, that tiny difference suddenly mattered a lot. Whether that was the sole cause or not, it highlights how one small, overlooked detail can completely change the outcome.
In this case, the stakes were low—a runnier yogurt wasn’t the end of the world. But when farmers are caring for animals or supporting their family’s livelihood, small variables can become much bigger problems. Every decision made on the farm is done thoughtfully and carefully because there are countless unseen factors at play every single day. Farming is nuanced, complex, and sometimes unpredictable. It’s complicated. And farmers do not take that responsibility lightly.
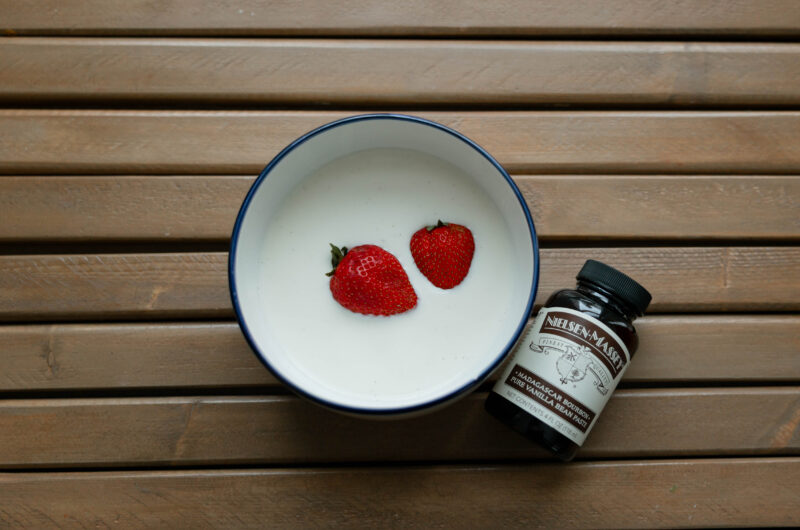
Maple Vanilla Yogurt
Course: BreakfastCuisine: AmericanDifficulty: Medium20
minutes12
hours12
hours20
minutesIngredients
8 cups milk (any fat percentage is fine!)
4 ounces plain yogurt
1/2 cup pure maple syrup
2 tablespoons vanilla bean paste
Directions
- Add milk to the slow cooker and cook, covered, for 2 and a half hours on low.
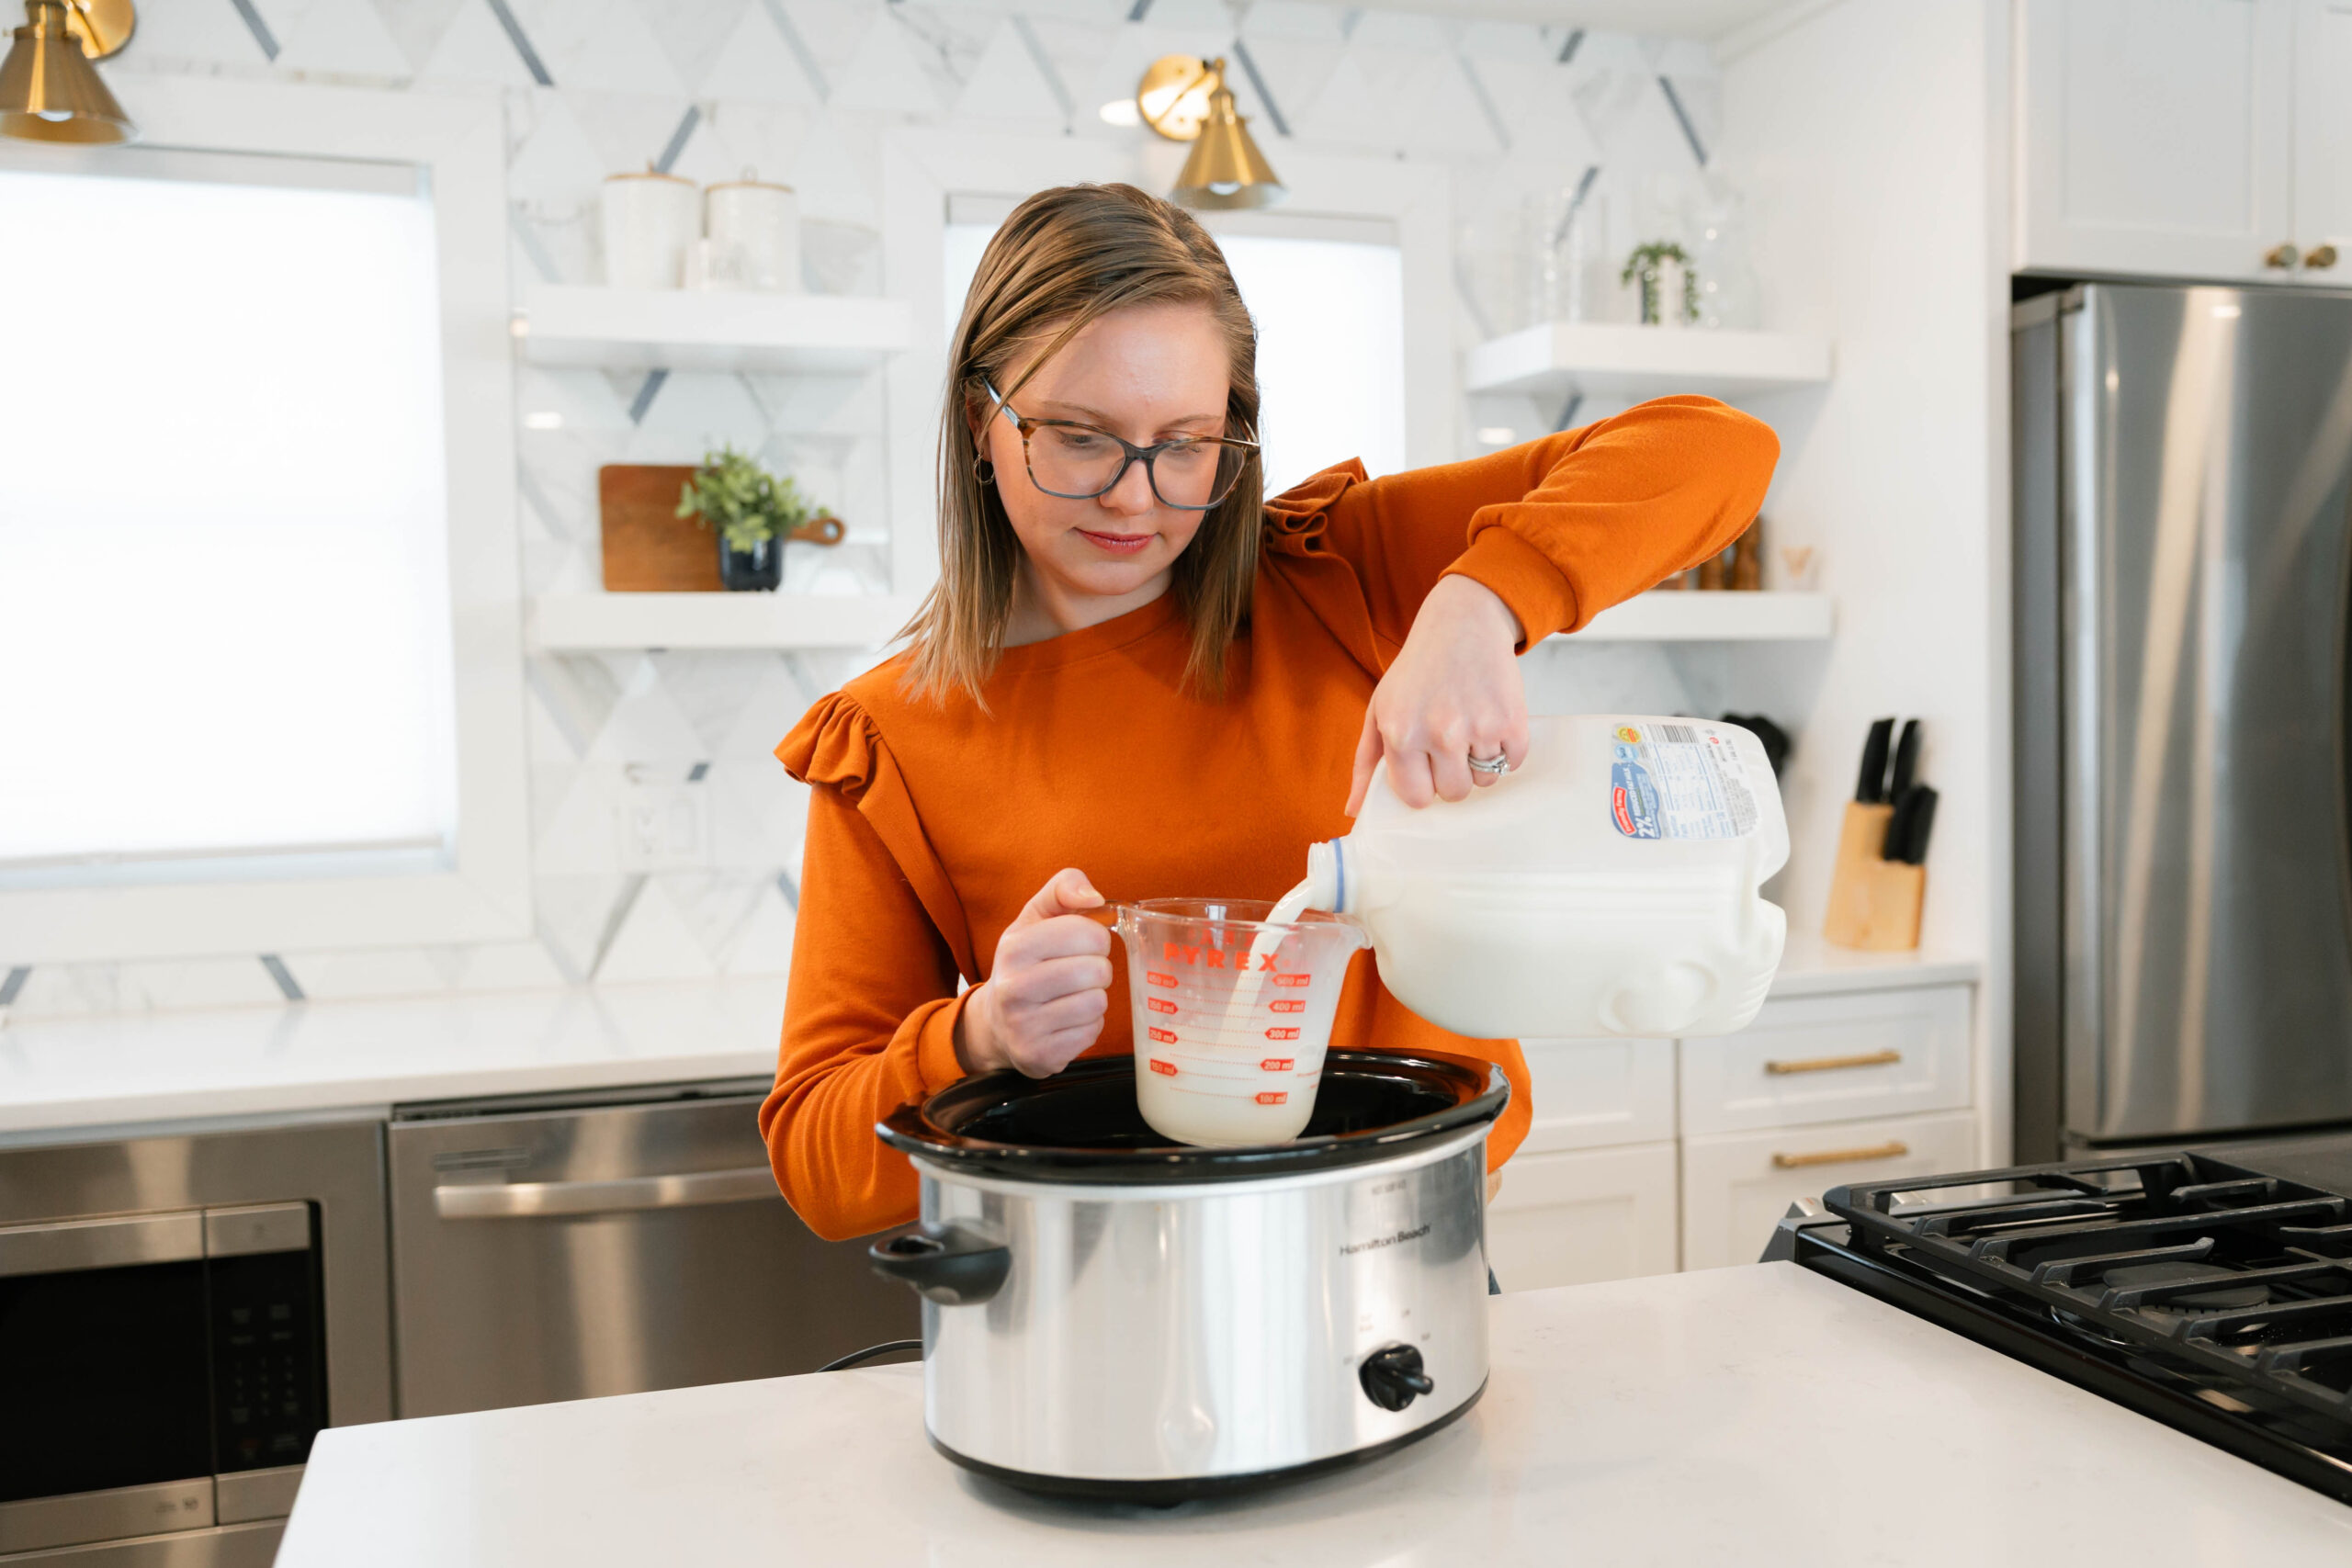
- Turn off slow cooker.
- Let sit, with the cover on, for about 3 hours.
- Separately in a small mixing bowl, whisk together yogurt, maple syrup and vanilla bean paste.
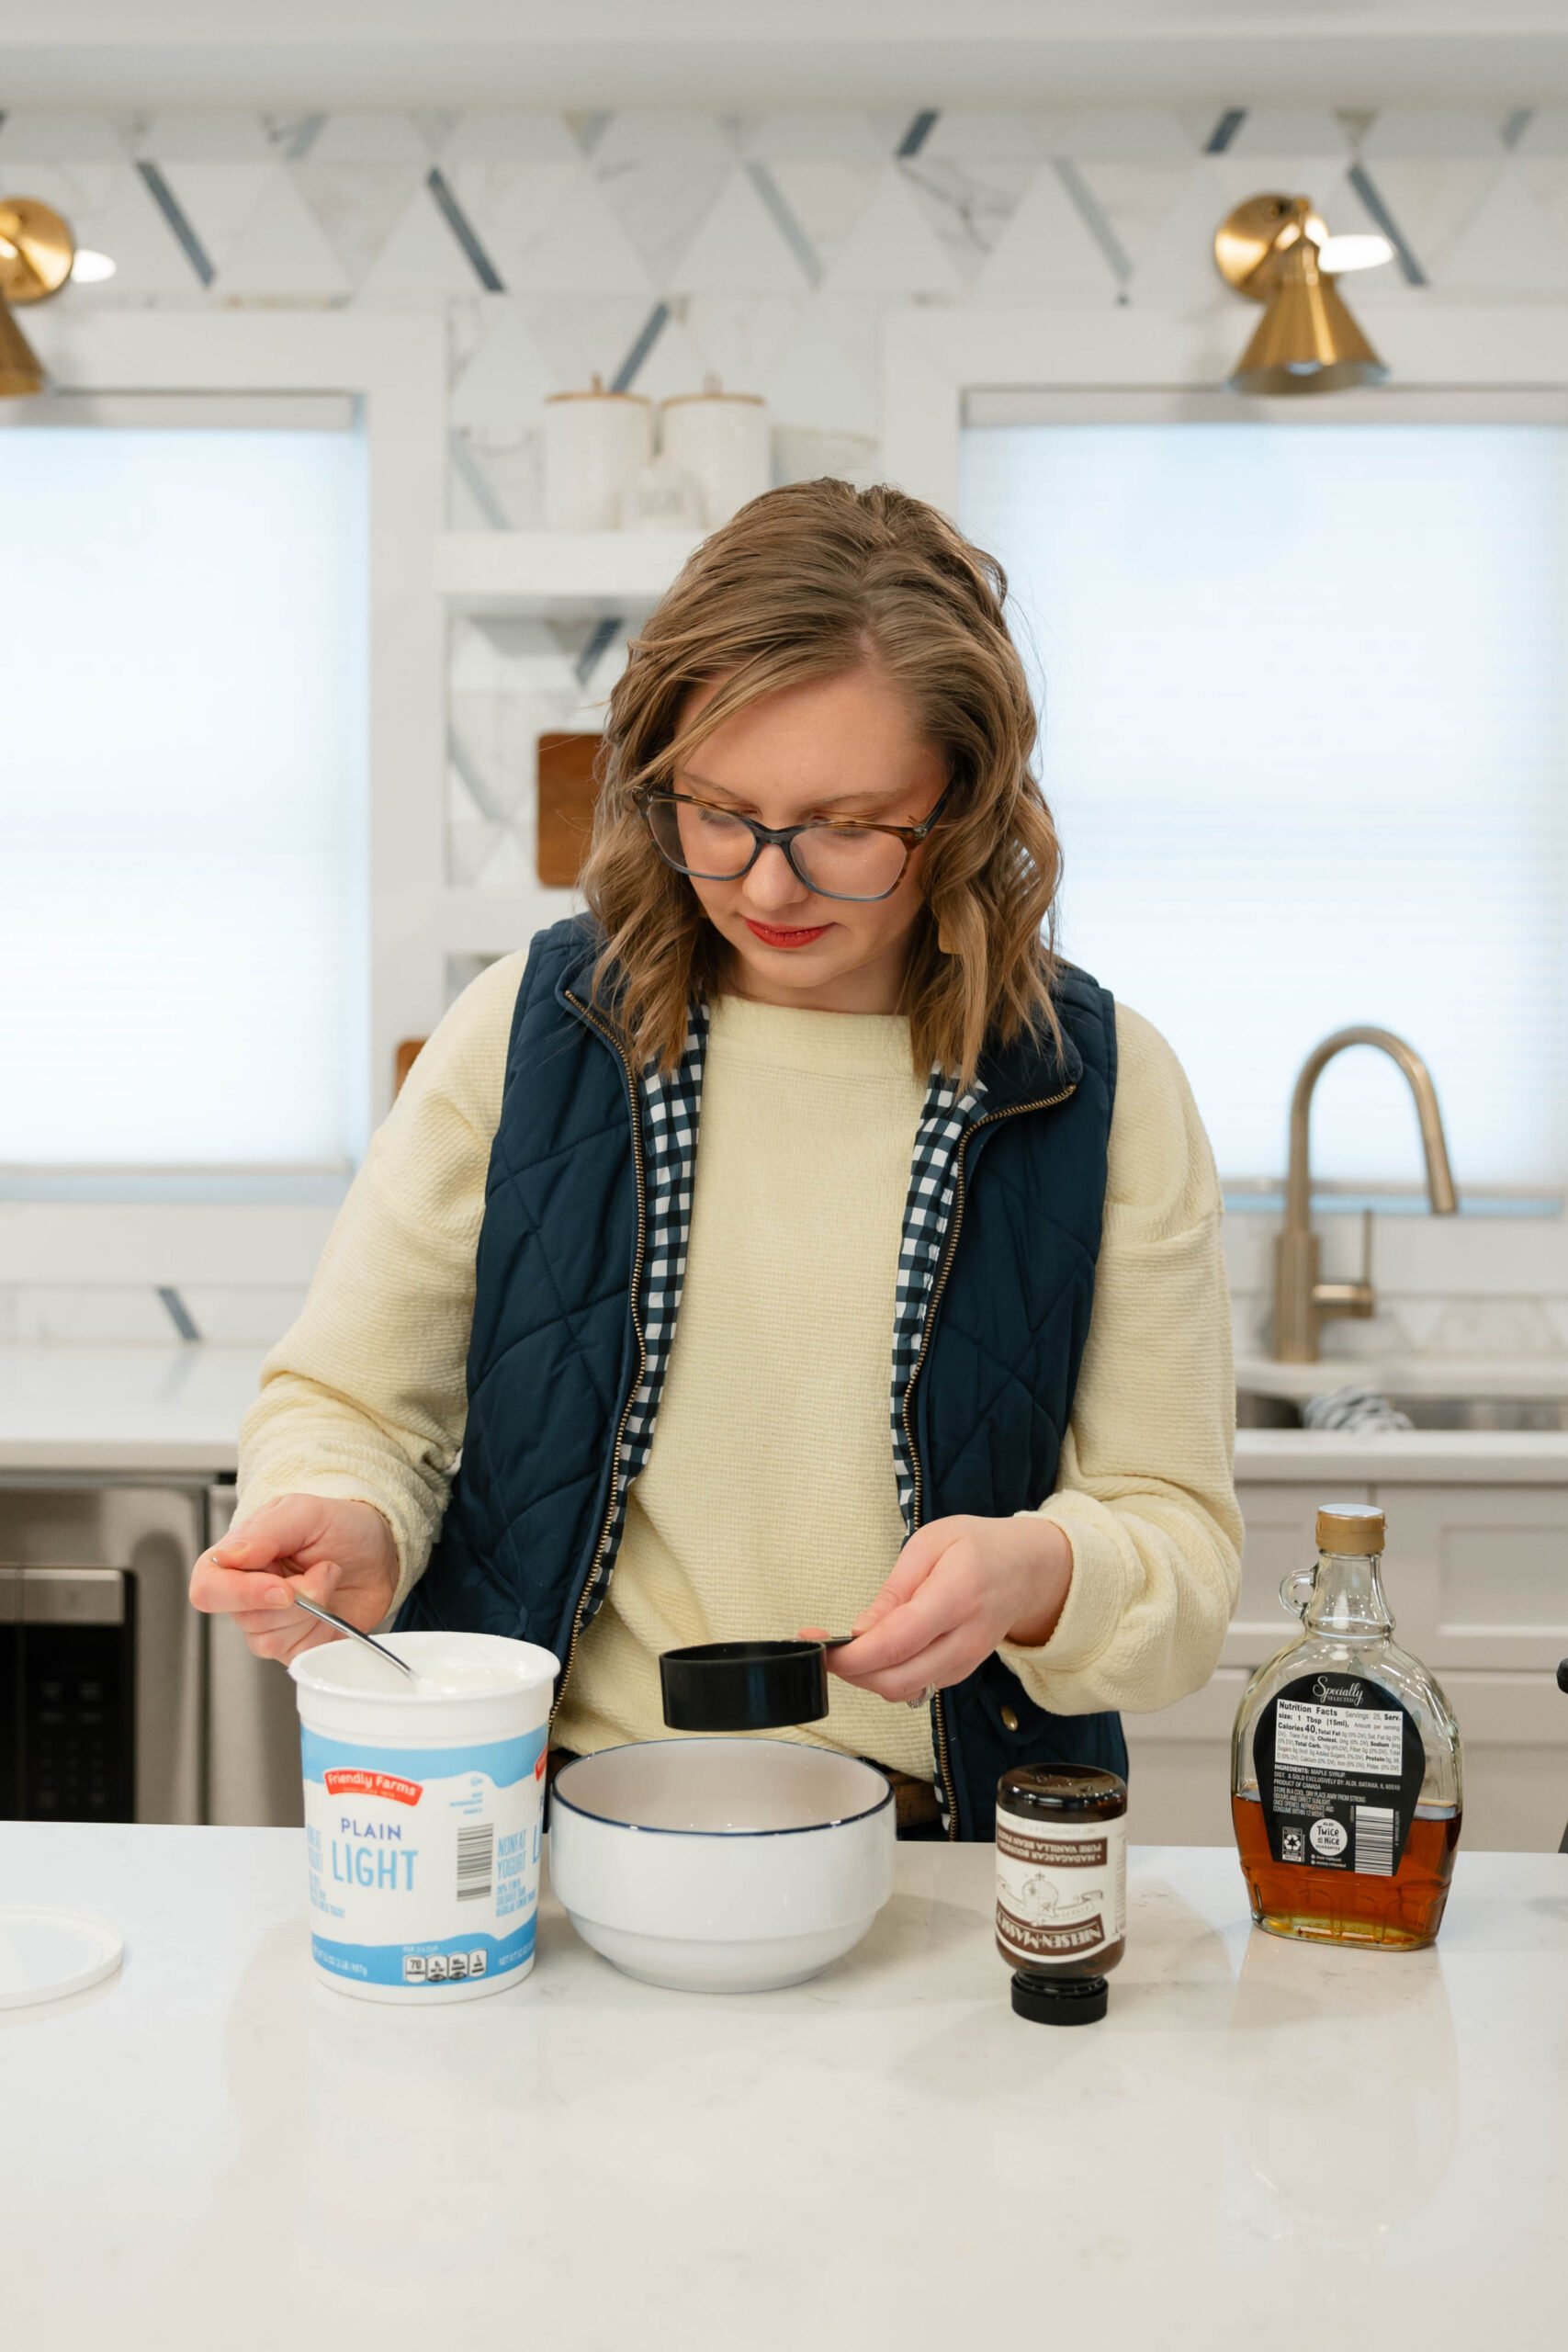
- Stir yogurt mixture into the milk in the crockpot.
- Wrap the slow cooker in a thick towel to insulate.
- Leave for 8+ hours to let the yogurt culture. (Overnight is fine.)
- Line a strainer with double paper towels or coffee filters and place over a significantly larger bowl.
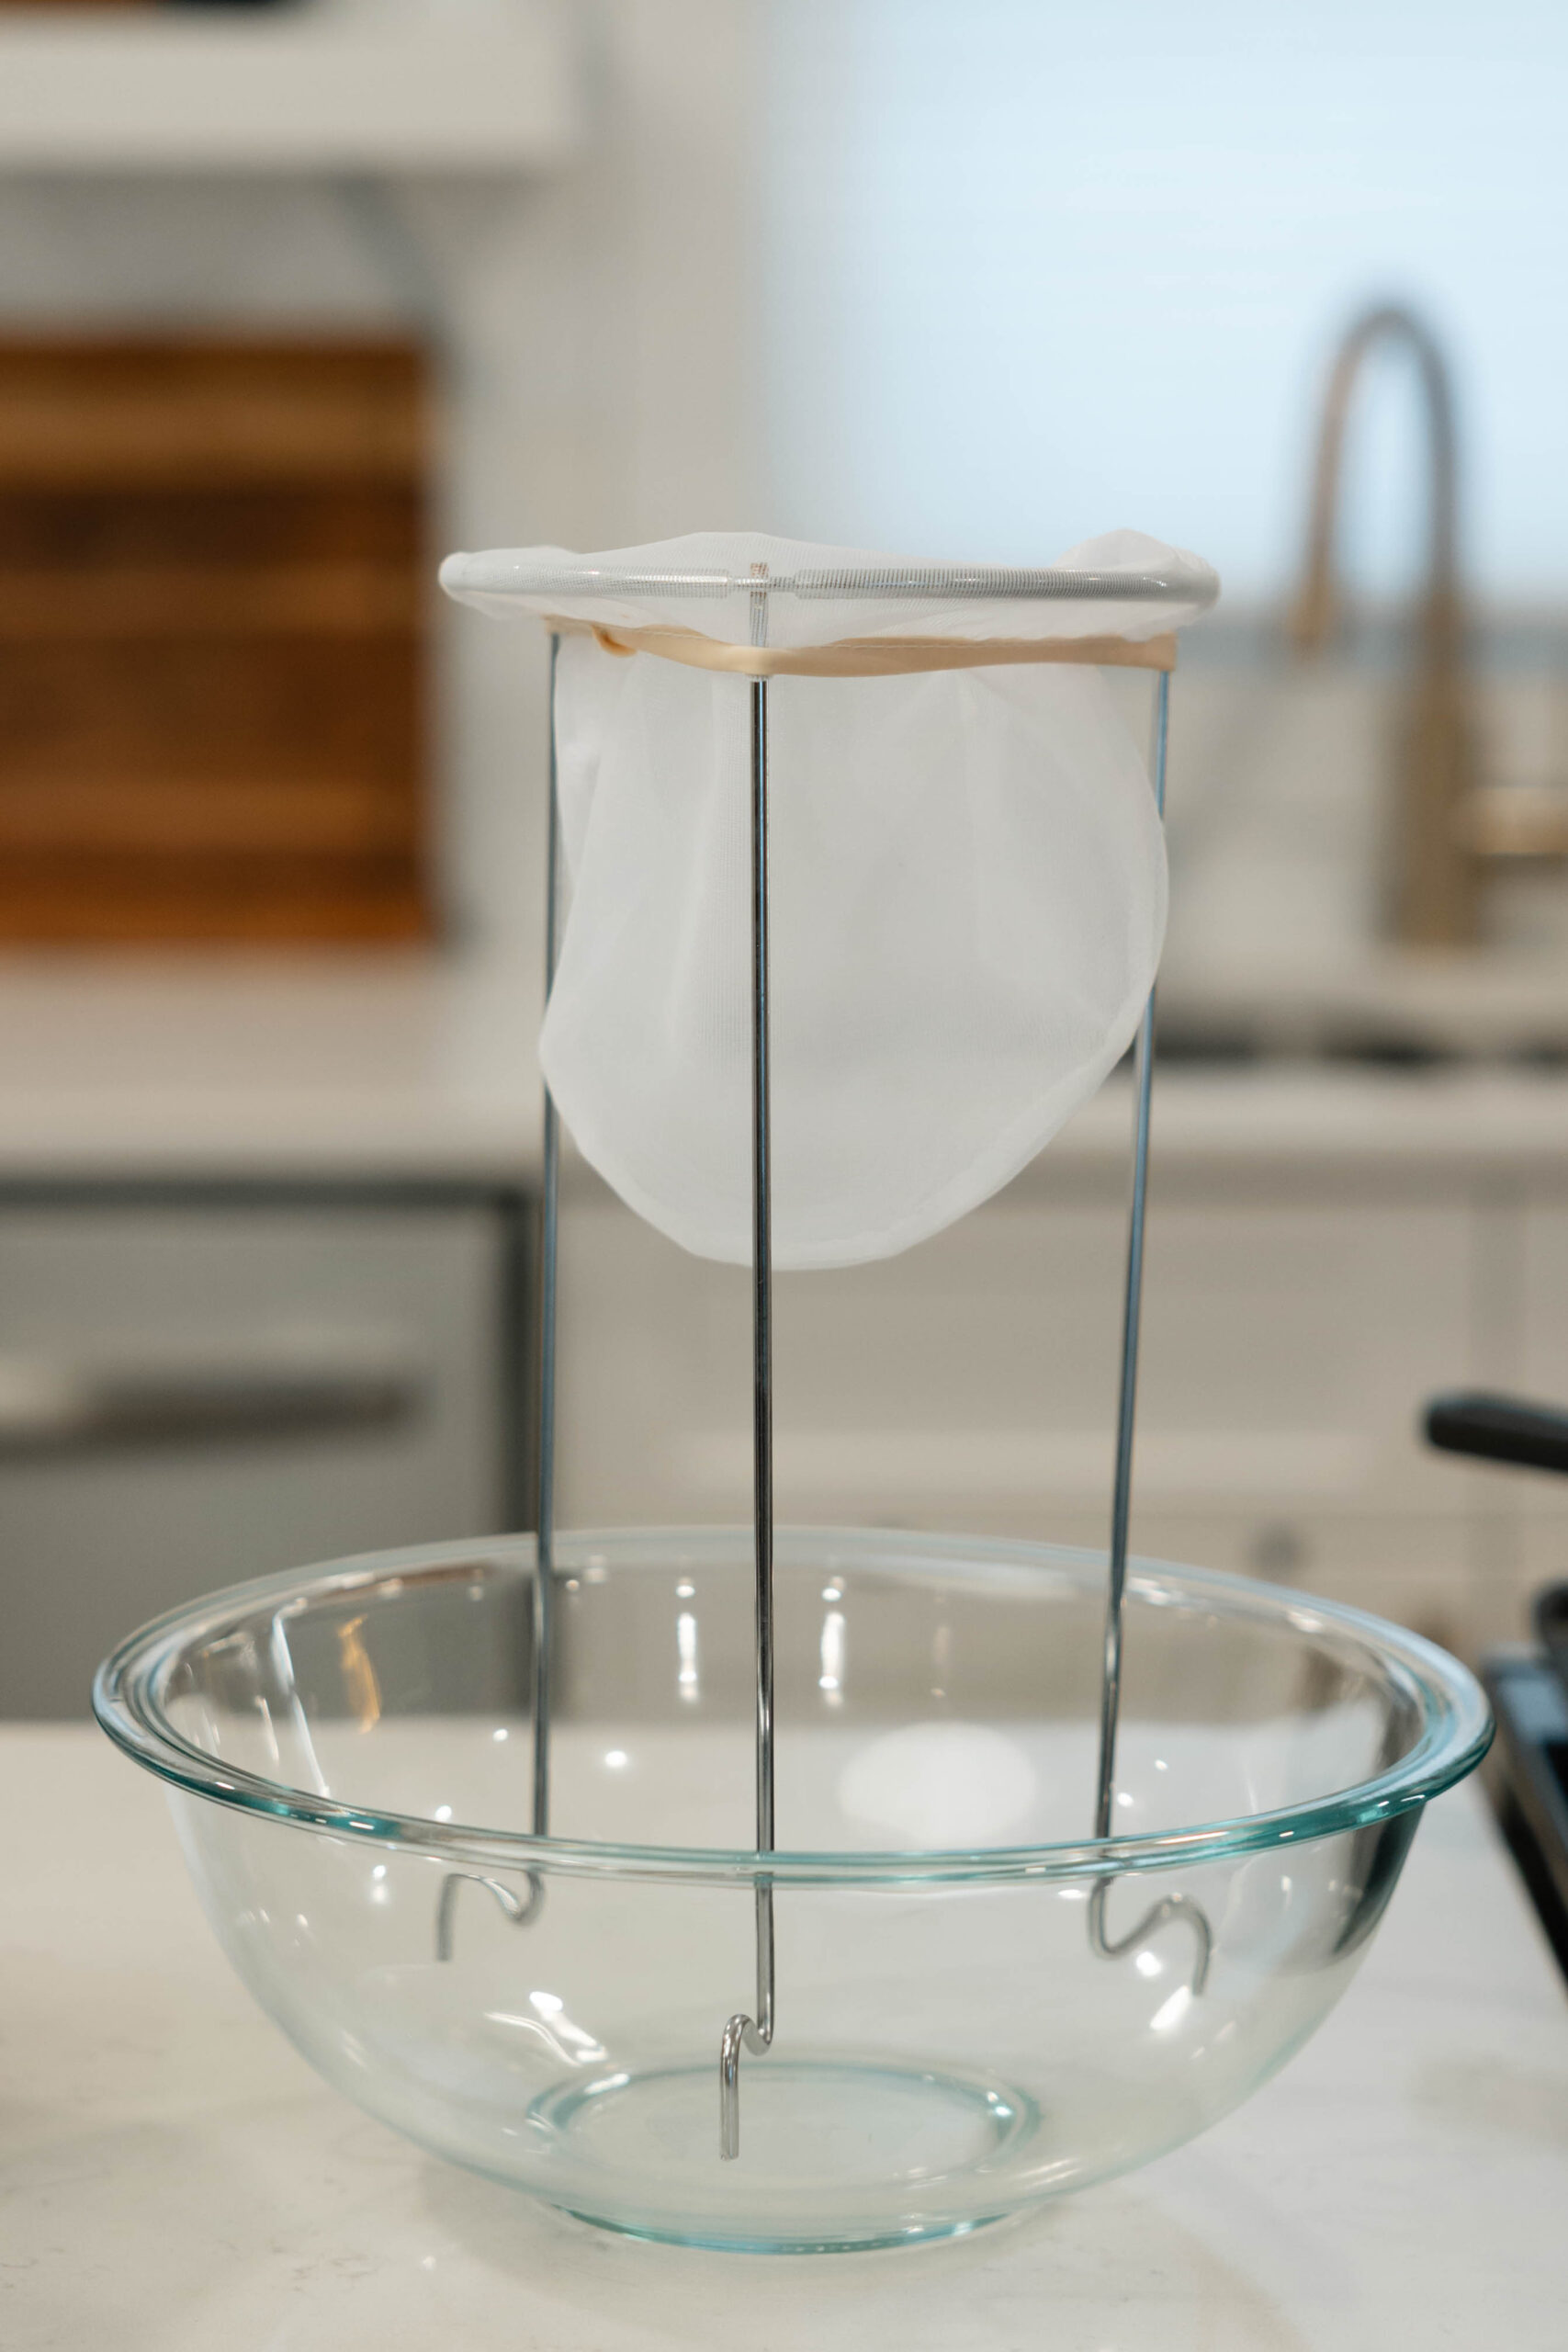
- Add yogurt to strainer.
- Place in the refrigerator so yogurt can cool.
- The protein whey will strain out of the yogurt over several hours leaving a thick yogurt.
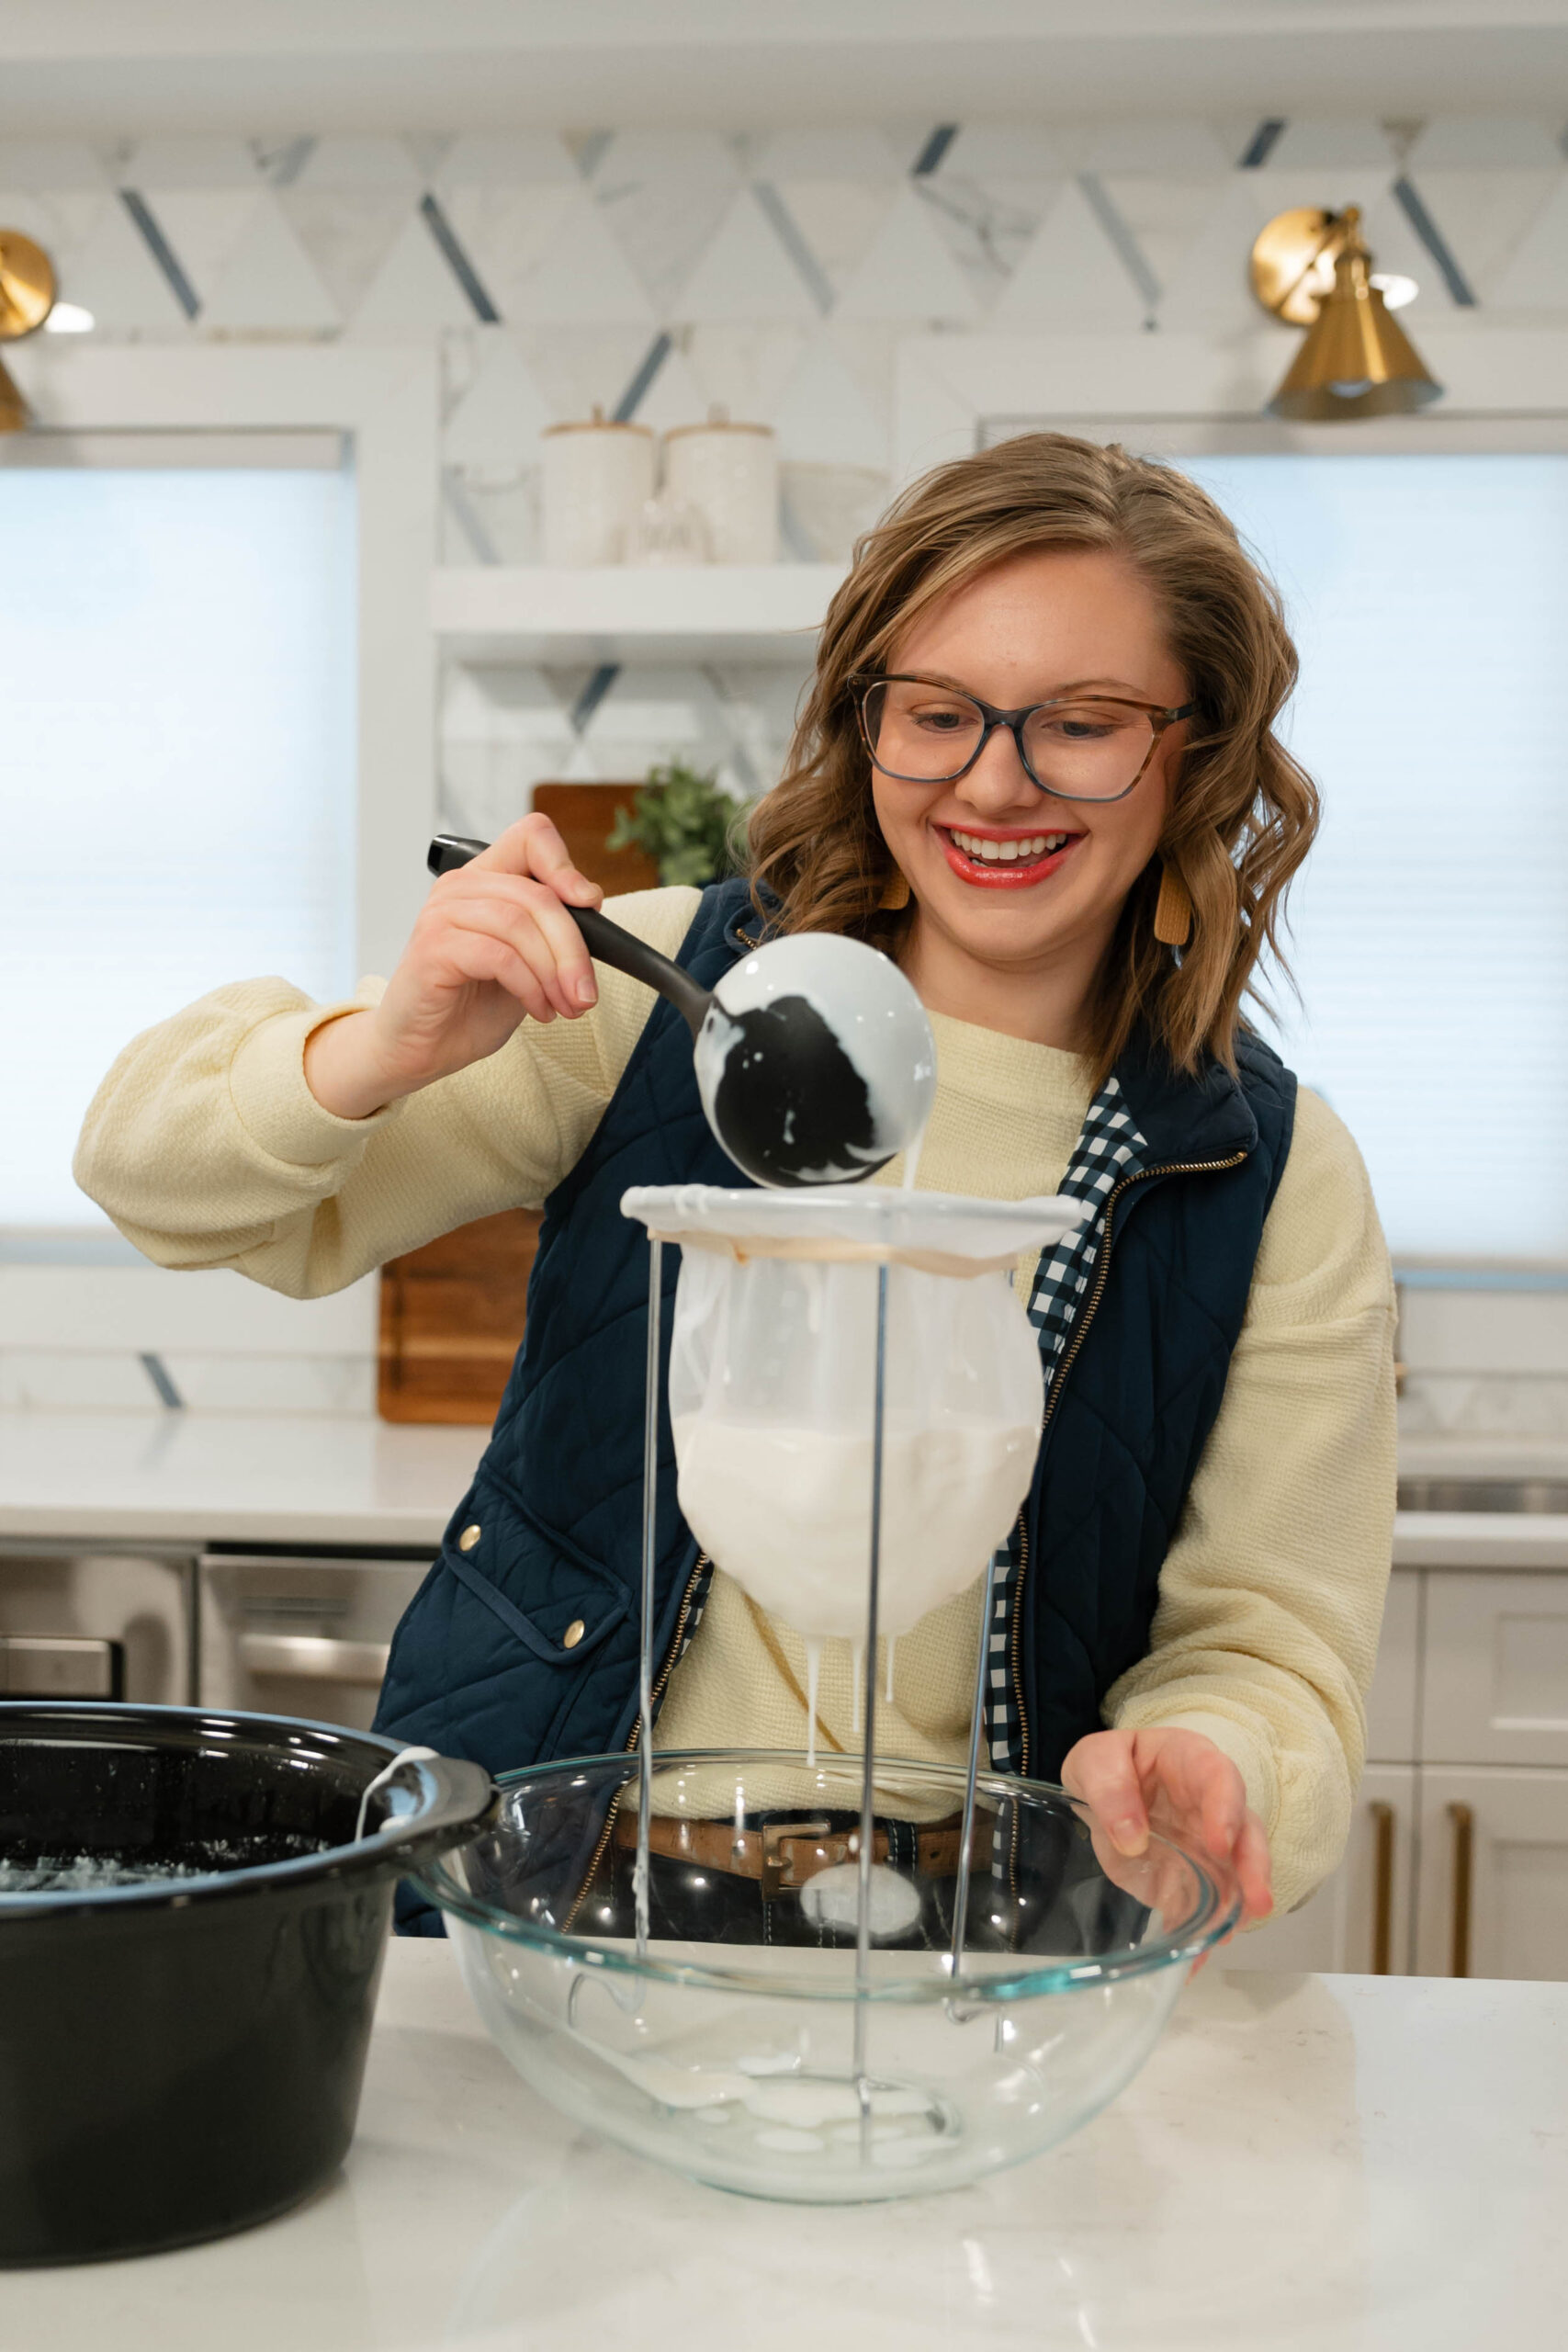
- Spoon yogurt into a container.
- Serve or refrigerate.
Notes
- We recommend using a full-fat, Greek-style yogurt starter for the best results. (Read the post for why!)
- Save the remaining protein whey (from Step 11) in the bottom bowl for another use– blend it into a smoothie or acai bowl!